How to migrate object storage between clouds without downtime
This guide explains how to use Flexify.IO move or copy data between cloud storages, such as Amazon S3 and Microsoft Azure Blob Storage.
Simple migration
In the simplest scenario, when data being changed during migration or application downtime are not concern, migrating your data with Flexify.IO is just a matter of a few clicks..
Sign in to Flexify.IO Management at manage.flexify.io.
Open Data tab and click Add Storage Account.
Select the Storage provider of the storage you want to migrate from. If the provider offers several products, also select the Product.
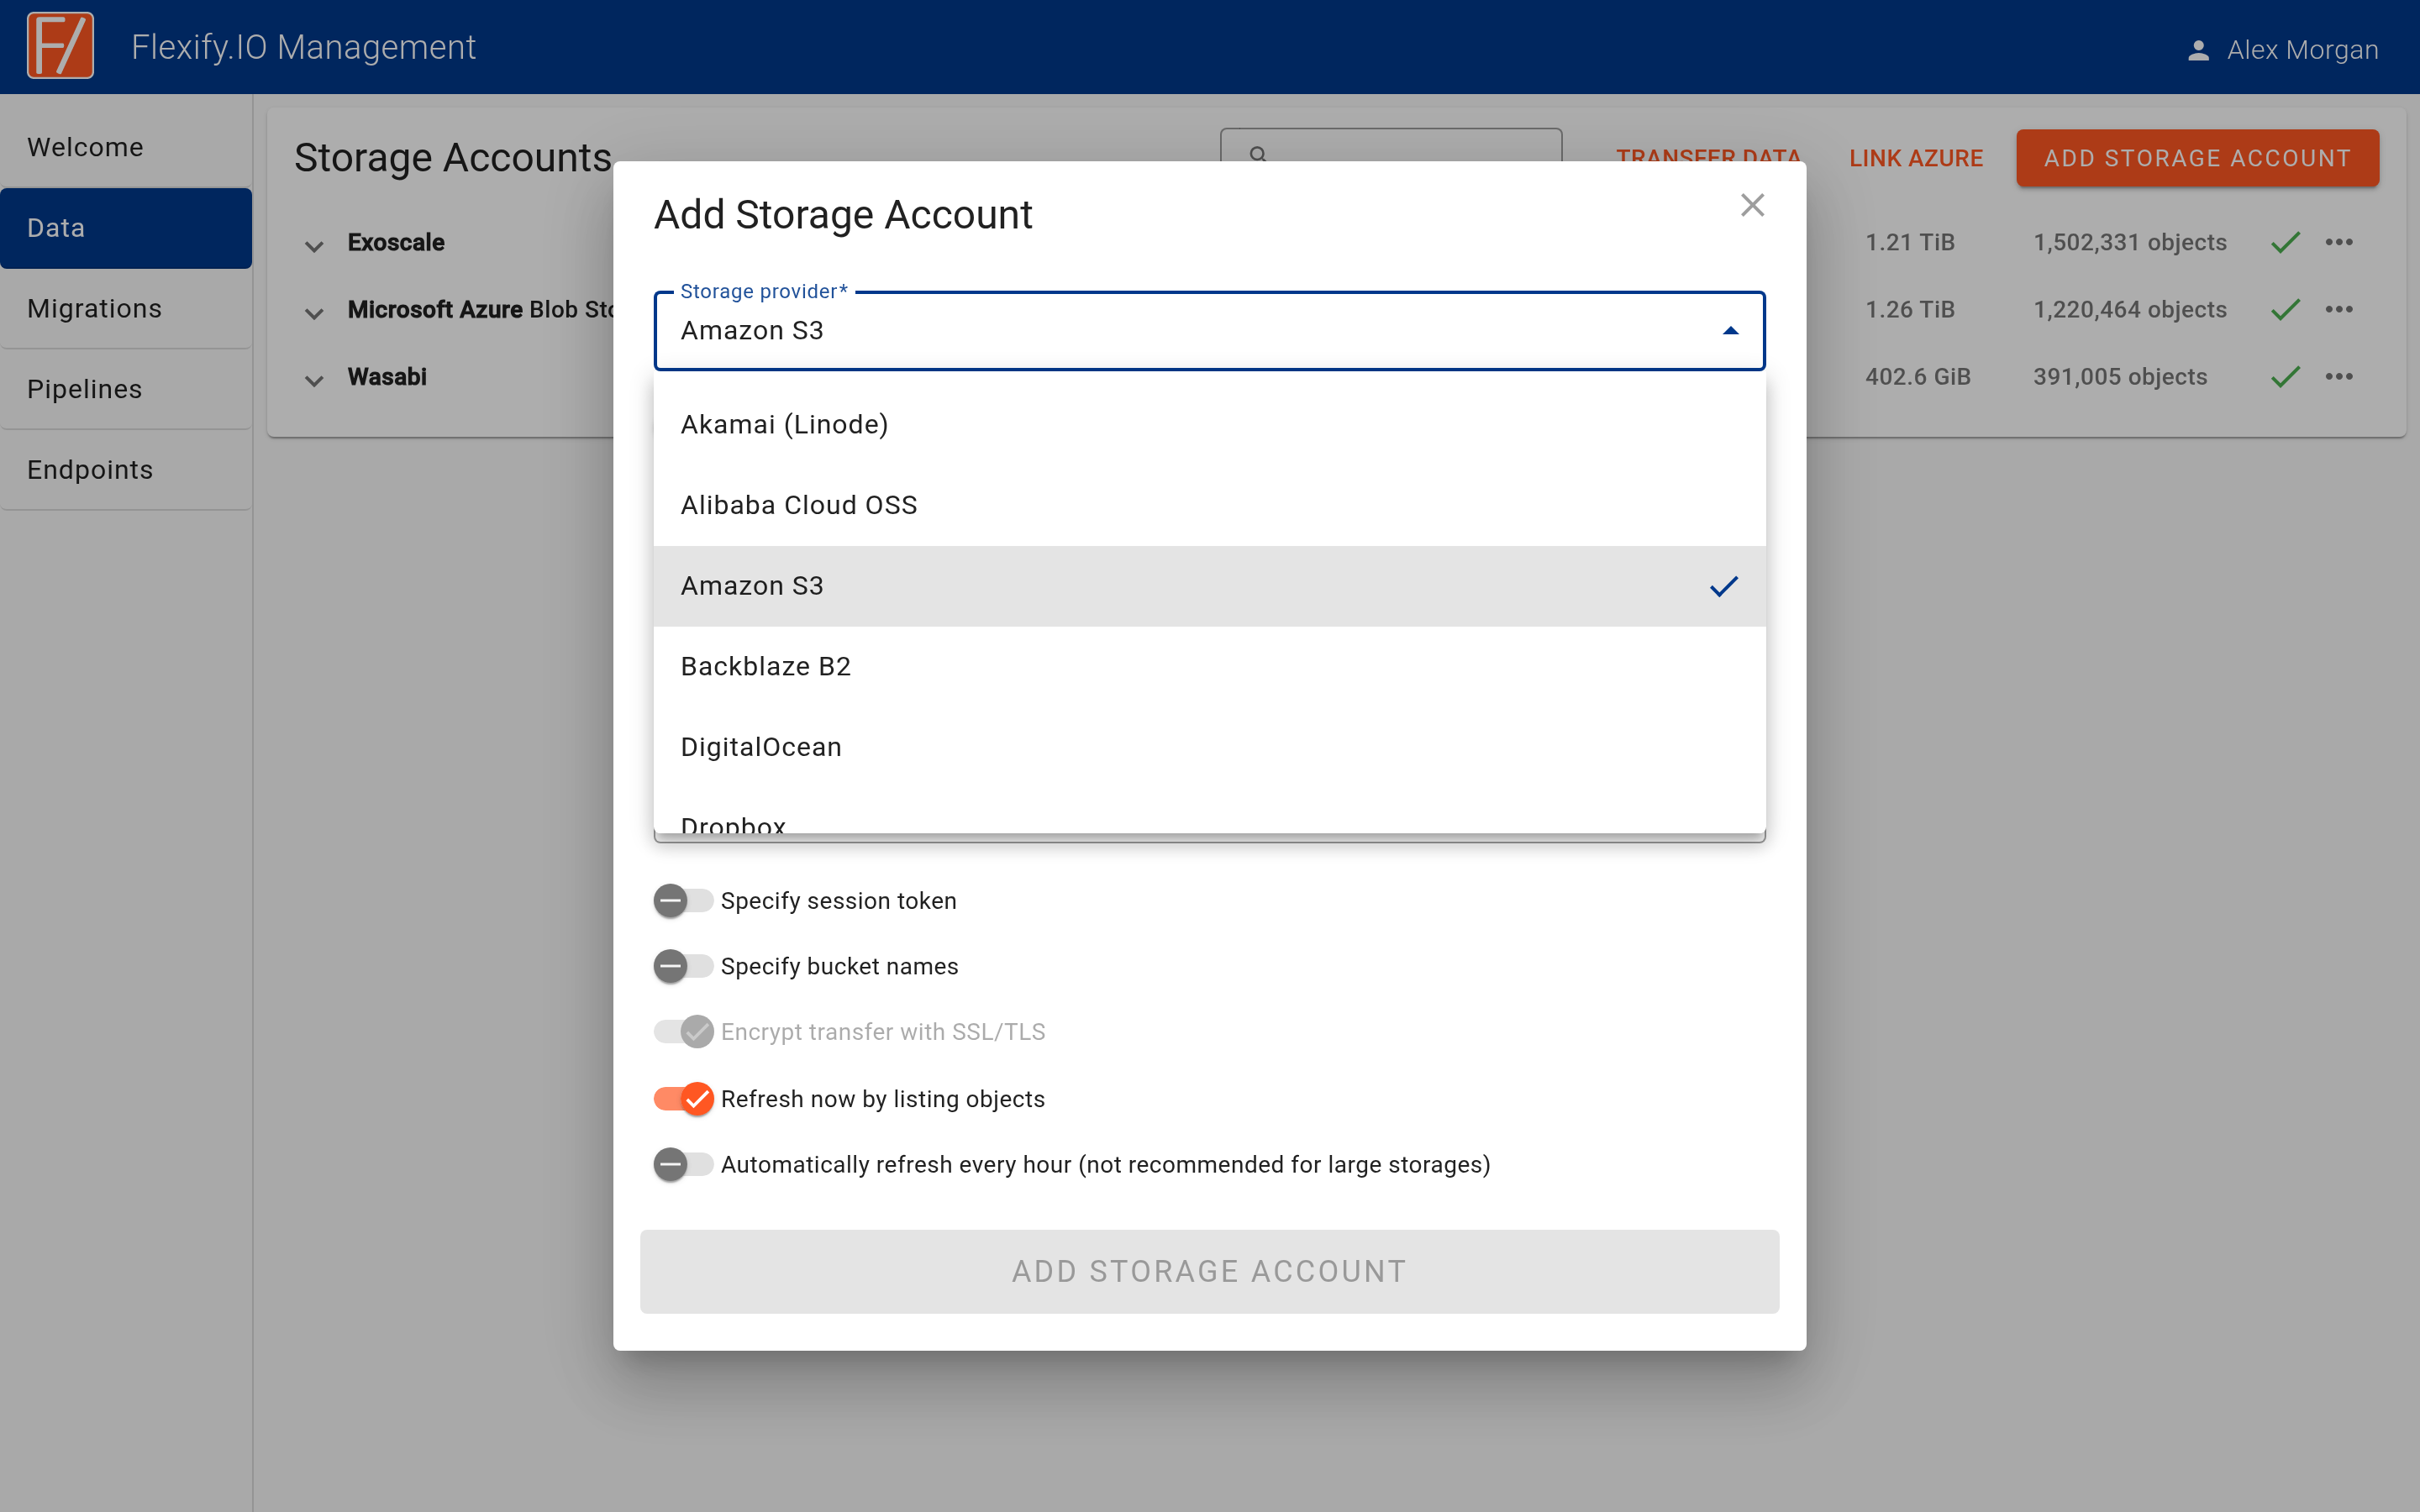
Enter the credentials:
Amazon S3 and S3-compatible storages: Access key ID and Secret access key. AWS keys are created in the IAM section of the AWS Console.
Microsoft Azure: Storage Account Name and Key or SAS token, from the storage account's Access keys page in the Azure Portal.
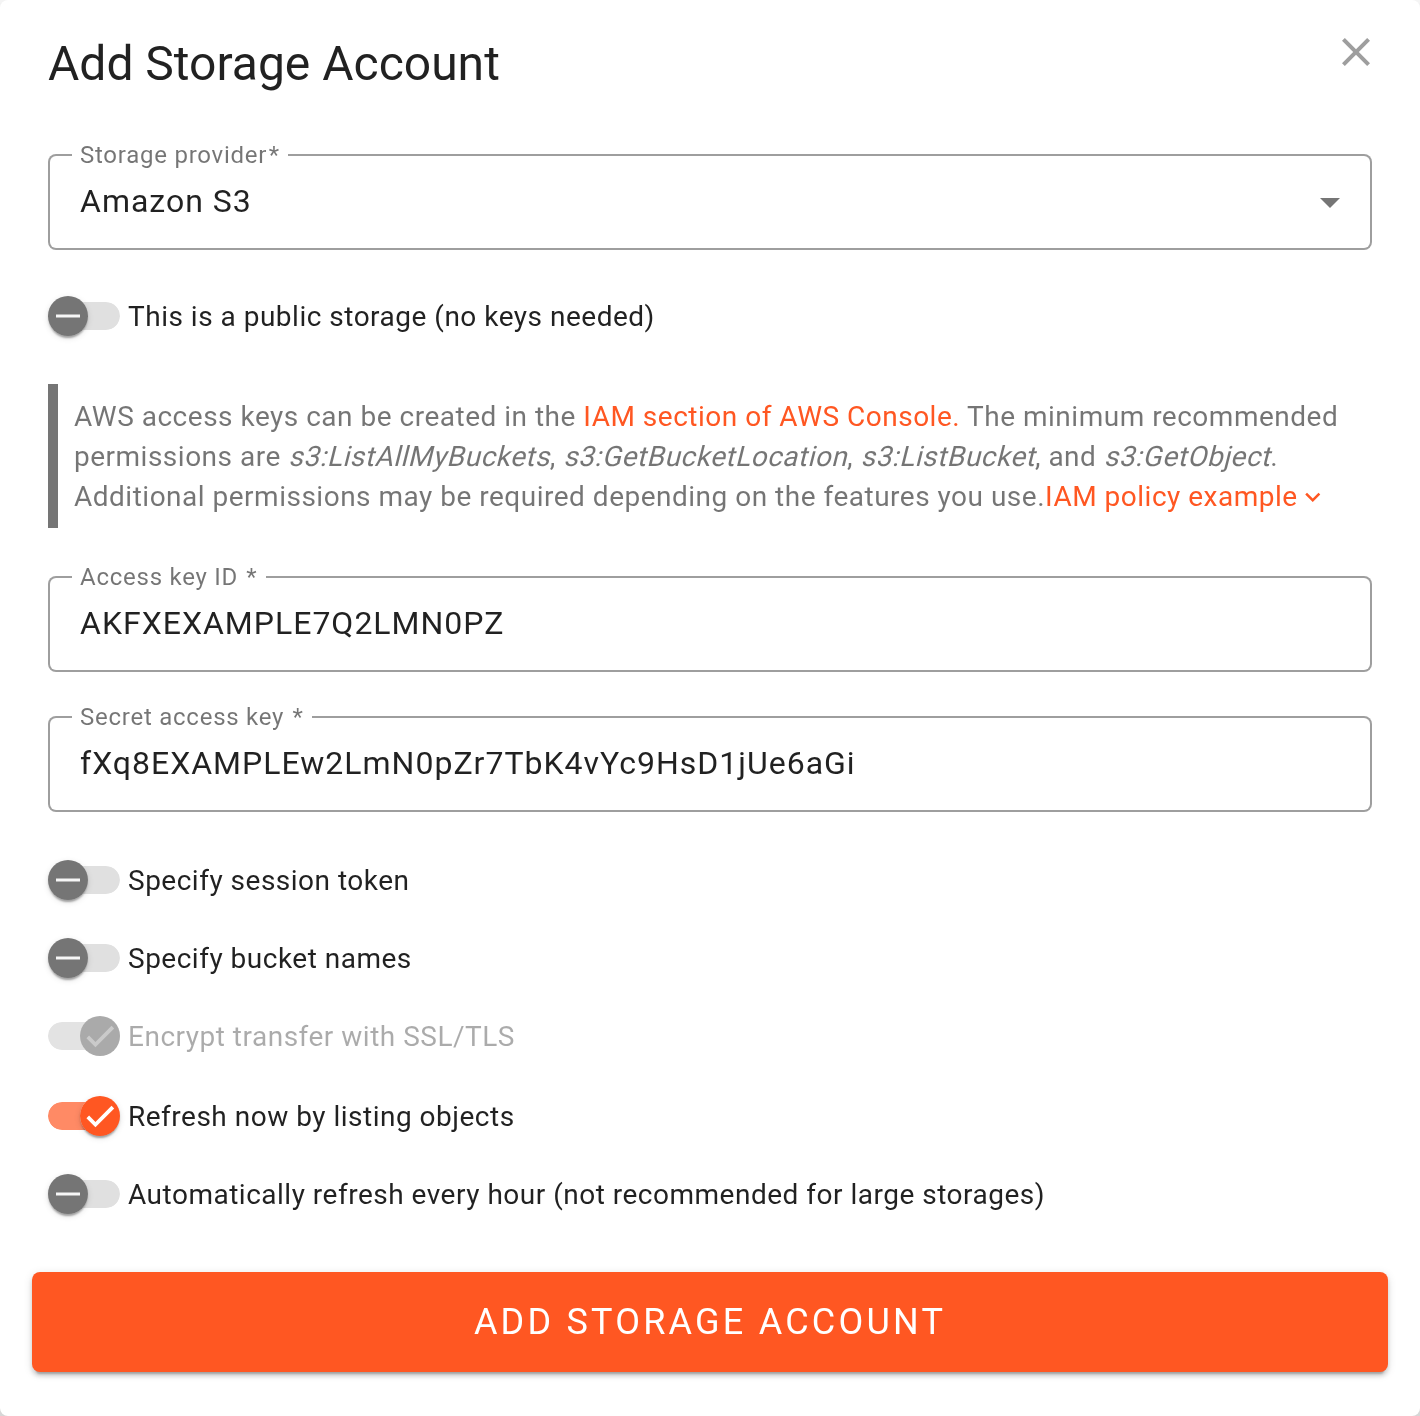
Tip: If your keys can't list all buckets, turn on Specify bucket names (or Specify container names for Azure) and enter the bucket names manually.
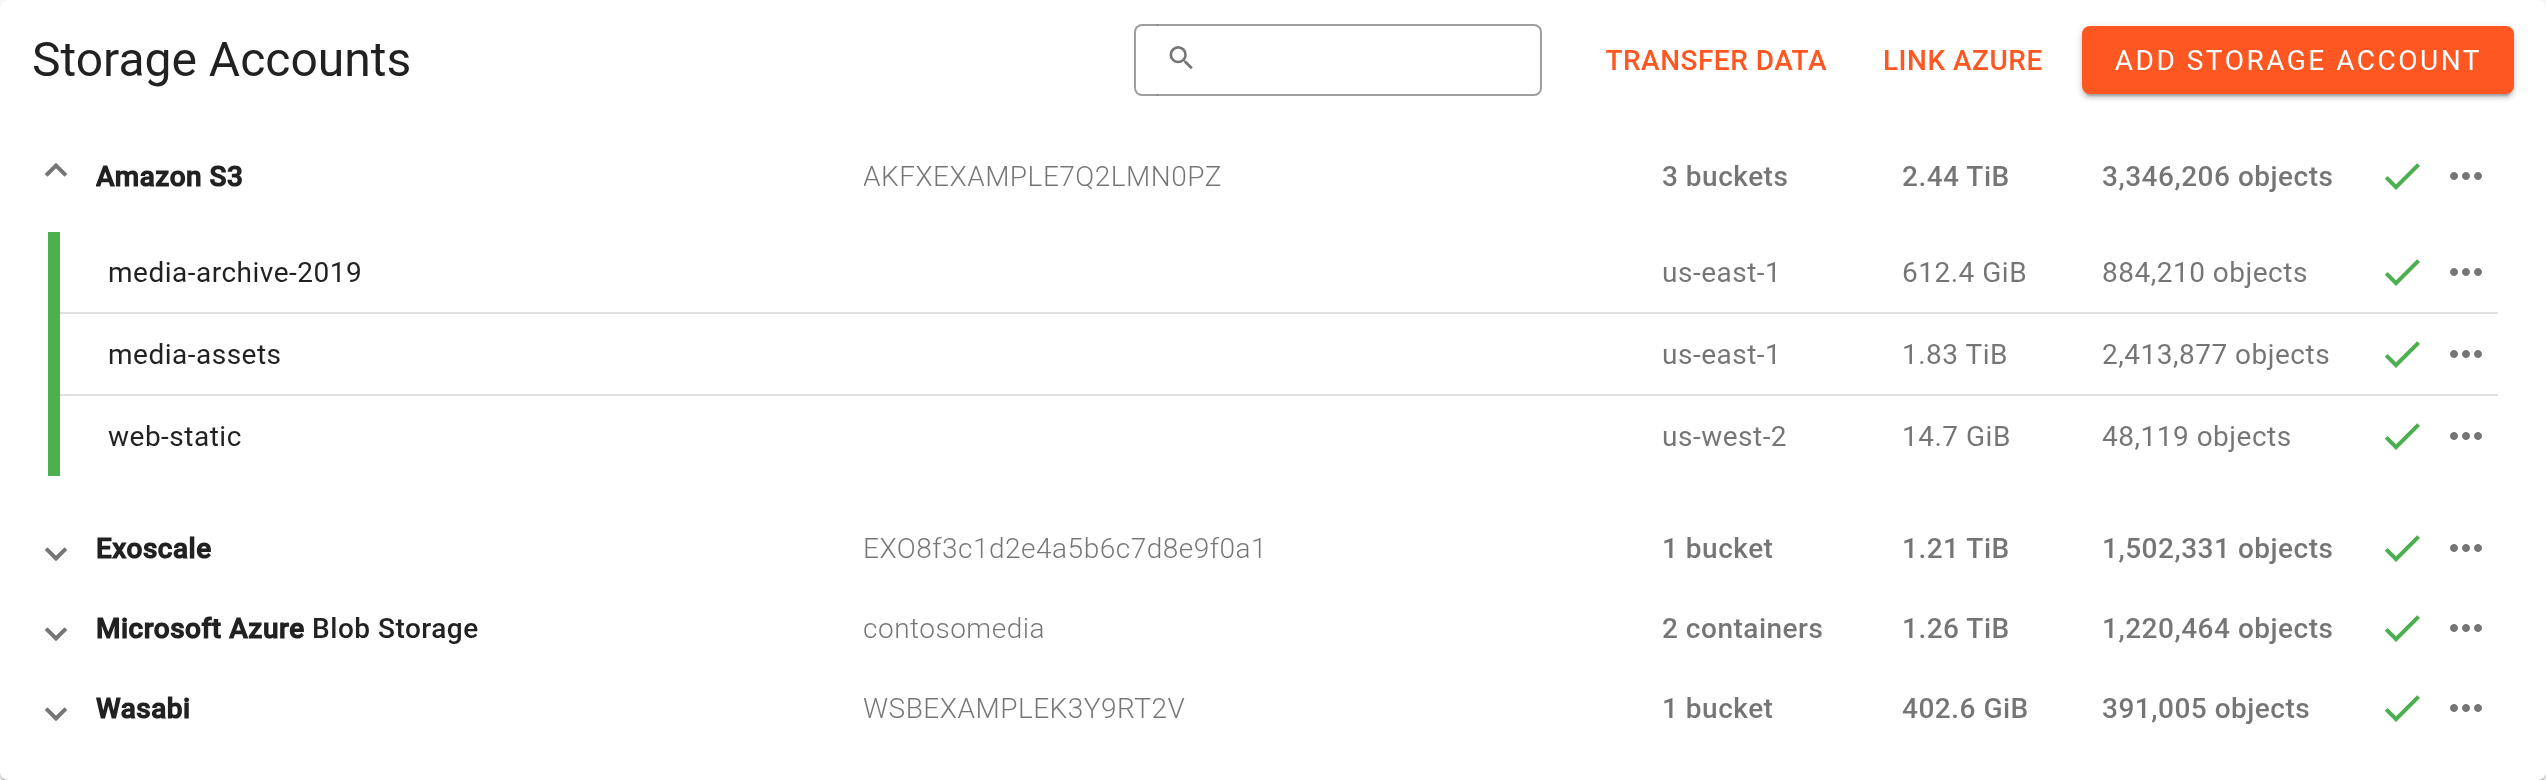
Click Add Storage Account. Flexify.IO checks the credentials, adds the storage account, and discovers its buckets. Expand the storage account on the Data page to see its buckets.
5. Repeat steps 2–5 for the storage you want to migrate to.
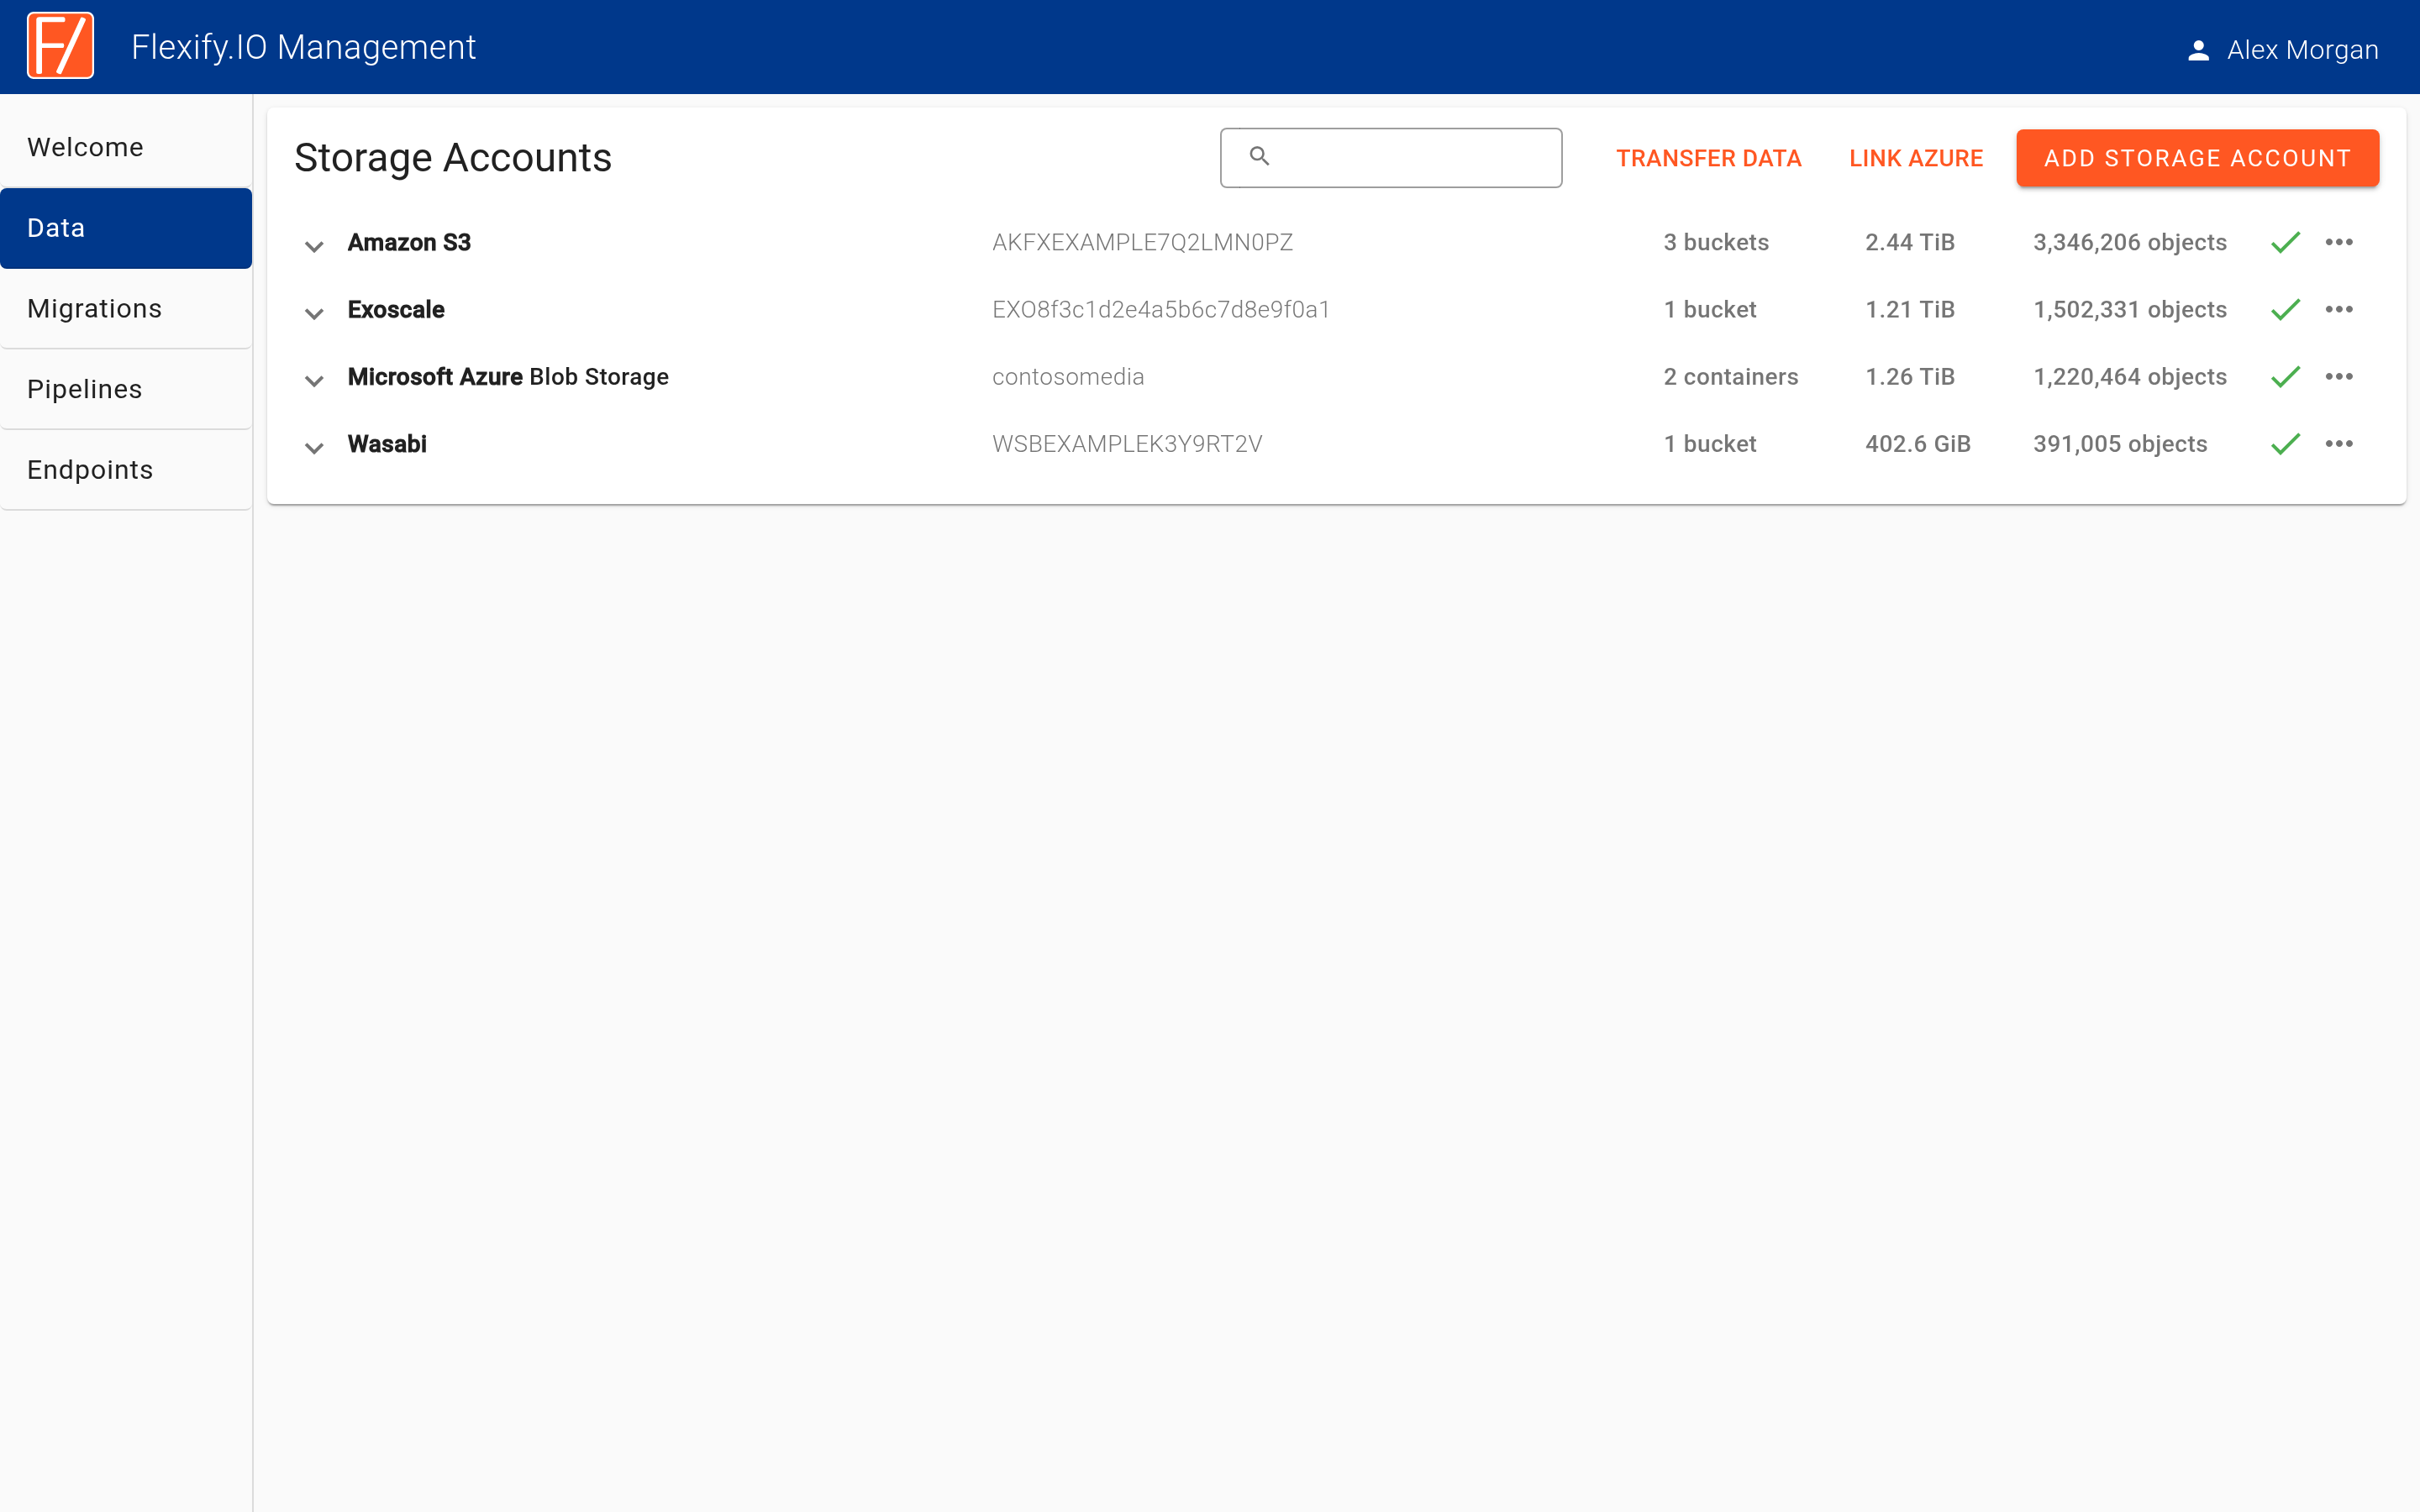
Click Transfer Data on the Data page, or New Migration on the Migrations page.
In From, choose the source storage account, bucket and, optionally, a prefix.
In To, choose the destination storage account and bucket. You can type a new bucket name to create one.
Click Add Mapping to migrate several buckets in one go.
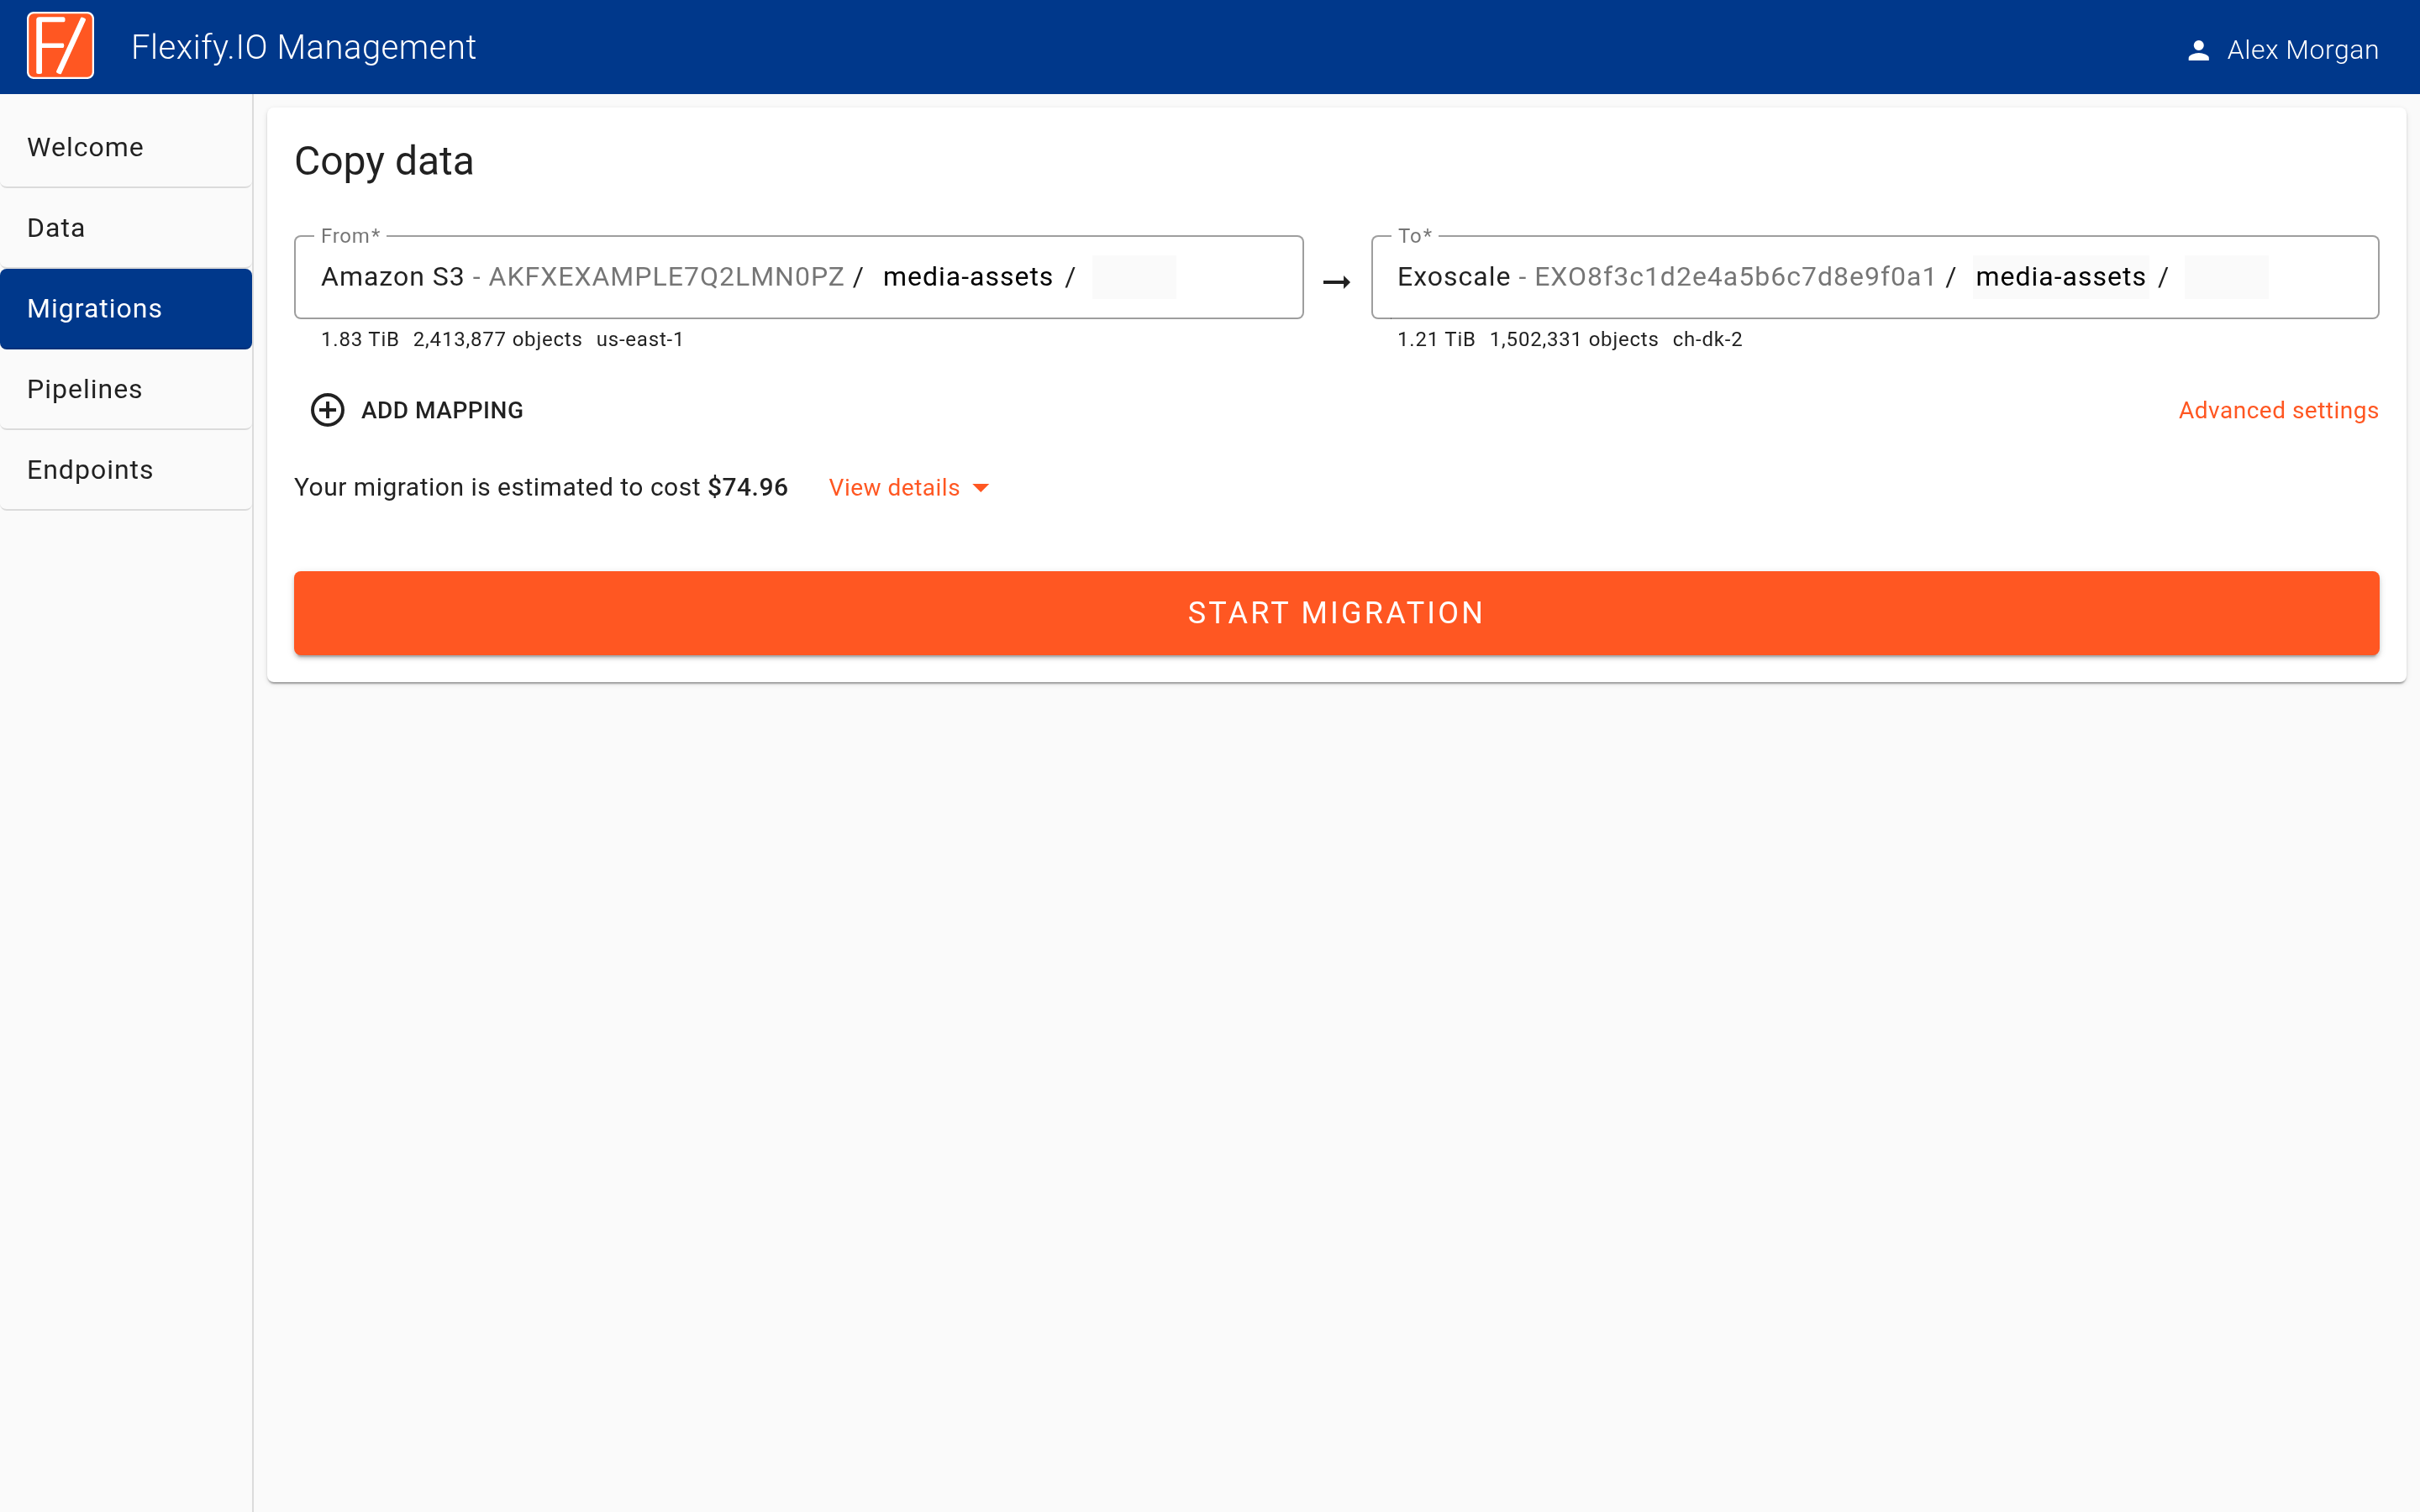
Click Start Migration. The migration's progress appears on the Migrations page.
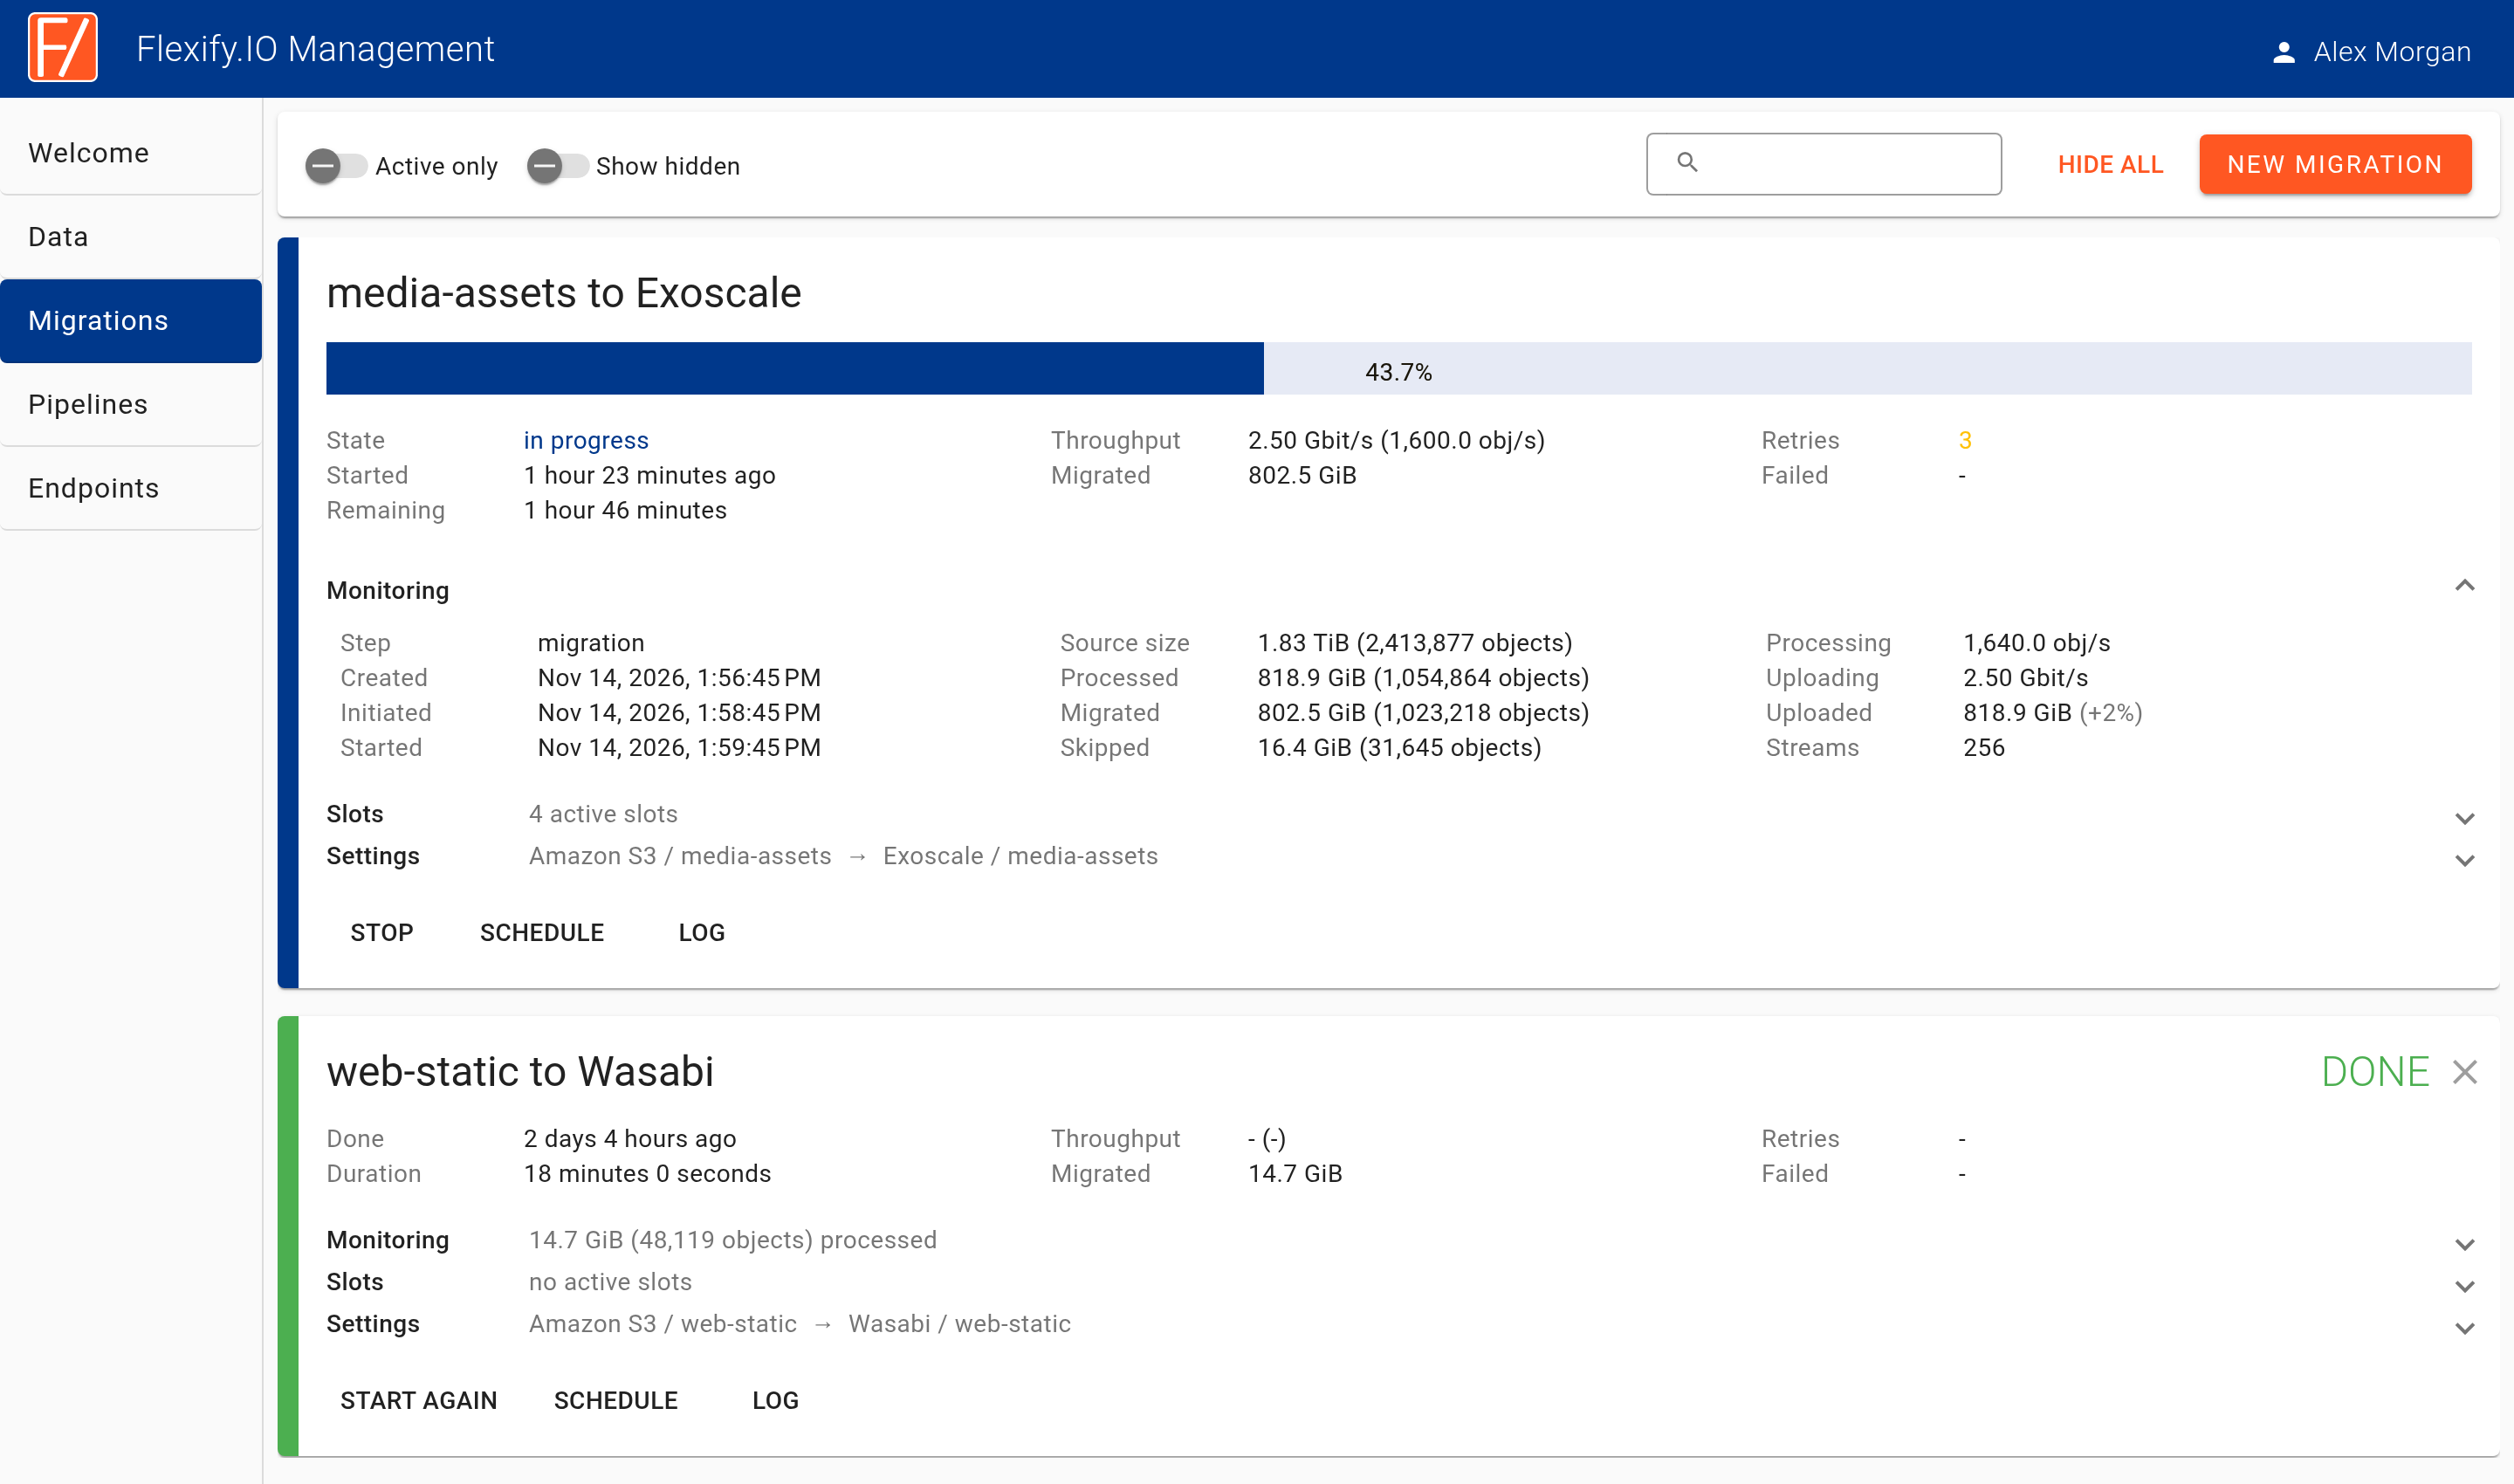
By default, Flexify.IO copies data. To move it (delete objects from the source after they are copied), open Advanced settings and set Migration mode to Move.
To keep source and destination in sync, consider using Replication pipelines after the one-off migration.
Migration with no downtime
To avoid downtime, route your application through a Flexify.IO virtual endpoint before you start the migration. The endpoint combines the source and destination into one virtual bucket, so your application sees every object whether it has been migrated or not, and new data goes straight to the destination.

Add both storage accounts as described in steps 1–5 above.
Open Endpoints and click New Endpoint.
Click Attach in the endpoint's storage bar and attach the source storage account. Turn off Store data uploaded via Virtual Endpoint here.
Click Attach again and attach the destination storage account. Leave Store data uploaded via Virtual Endpoint here turned on, so new writes go to the destination.
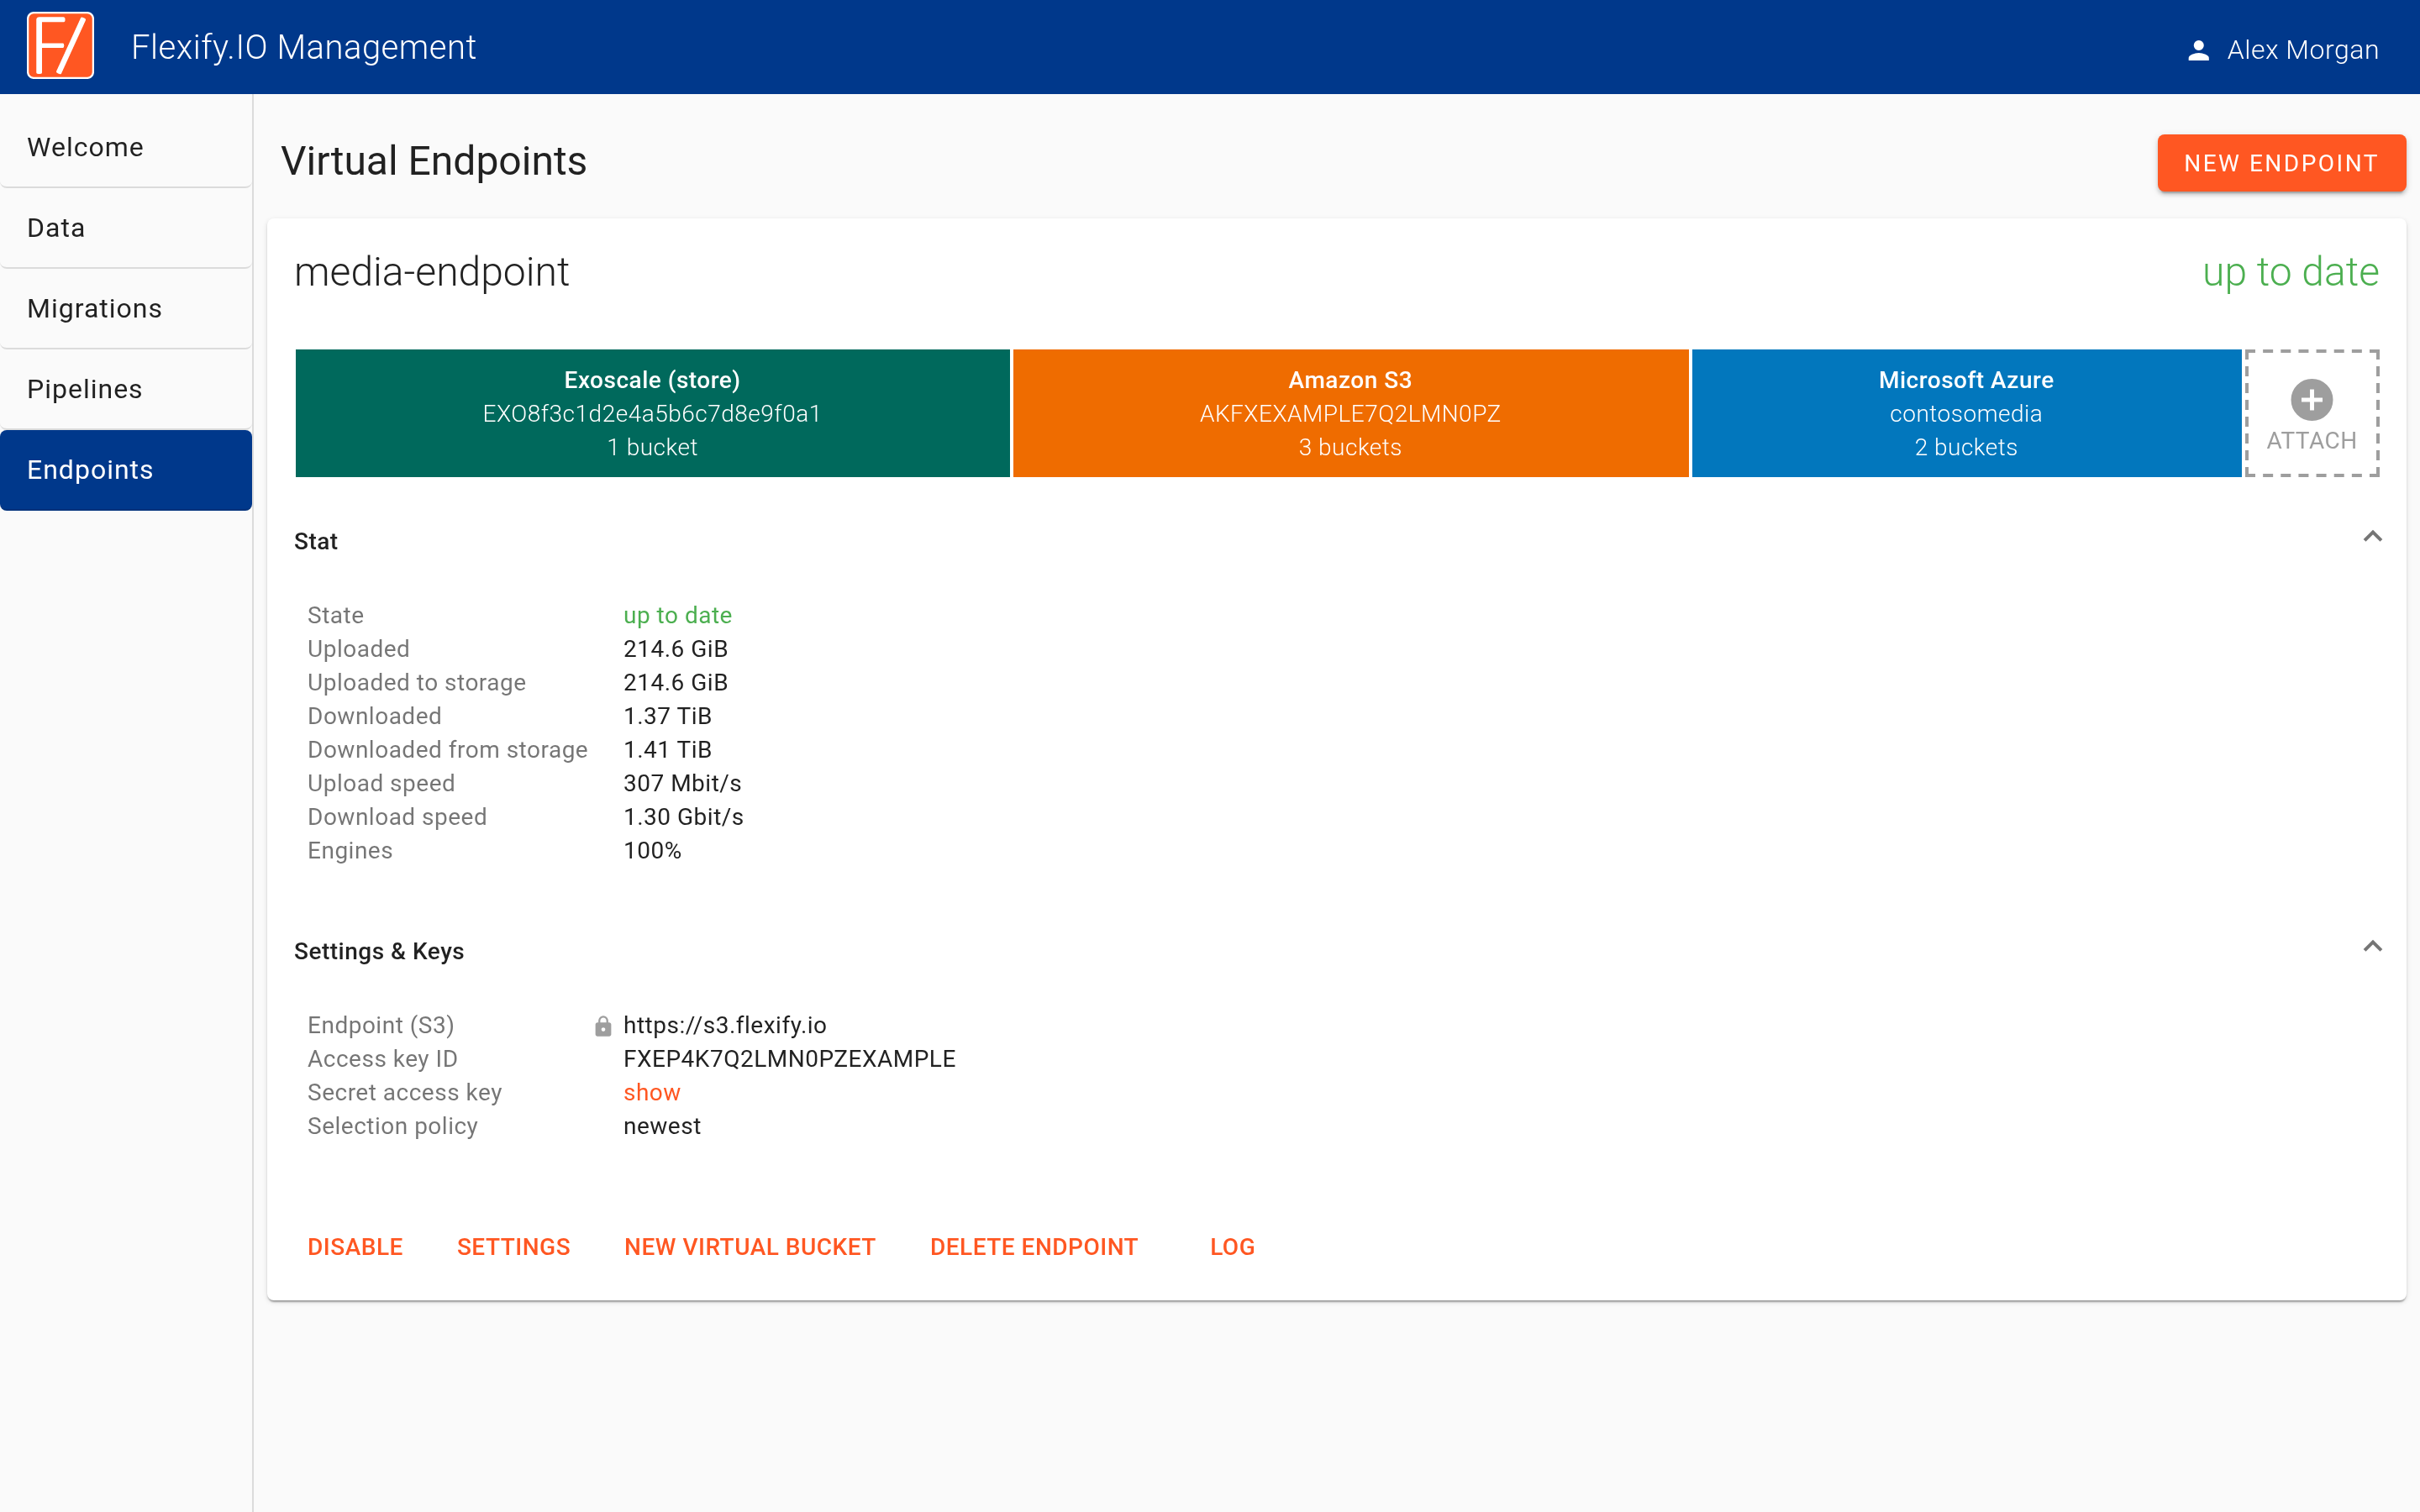
To change where new data is stored later, click the storage in the storage bar, switch the toggle in Attached Storage Account Details, and click Save. The storage that receives new data is marked (store) in the bar.
Reconfigure your application to use the endpoint address and keys from the endpoint's Settings & Keys section. See Configuring S3 applications to use Flexify.IO.
Start the migration as described in steps 6–9 above. However long the migration takes, your application can always reach all the data.
API translation during migration
If the destination is not S3-compatible, such as Azure Blob Storage, your application still uses the S3 API. Flexify.IO translates S3 requests to Azure requests on the fly.
After the migration
When the migration is complete:
On the endpoint card, click the source storage in the storage bar and click Detach. Your application now works with the destination only, still through Flexify.IO.
Alternatively, if the destination is S3-compatible, you can point your application directly at the destination storage's endpoint and keys and stop using the Flexify.IO endpoint.