Azure VM deployment guide
This guide describes how to deploy Flexify.IO on a virtual machine in your own Azure subscription and get S3 API access to your Azure Blob Storage.
If you'd rather not deploy and manage virtual machines, Flexify.IO is also available as managed SaaS. Create the Flexify.IO SaaS account to start. Similar steps apply.
Overview
Amazon S3 is the de facto standard API for cloud storage, and most cloud-native applications rely on it. Microsoft Azure doesn't offer S3-compatible storage out of the box, which makes it harder to move such applications to Azure.

Flexify.IO adds an S3-compatible API to Azure Blob Storage, so S3 applications can store data in Azure without code changes.
This guide describes how to a deploy an Azure Marketplace virtual machine image with Flexify.IO installed.
For better high availability and scalability beyond 1 Gbps, we recommend distributed Flexify.IO Managed Application. Please contact us for the deployment guidance.
Step 1. Deploy Flexify.IO from Azure Marketplace
In the Azure Portal, click Create a resource and search for S3.
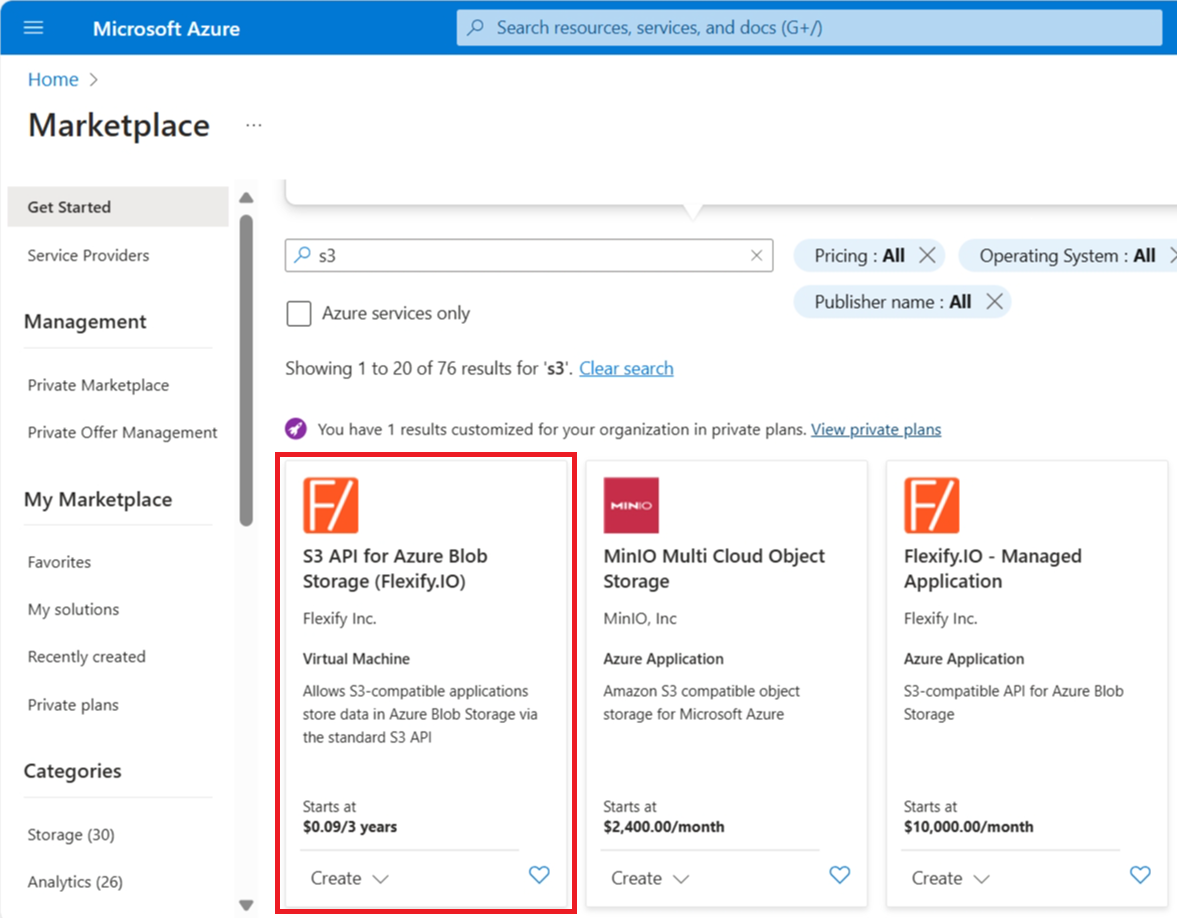
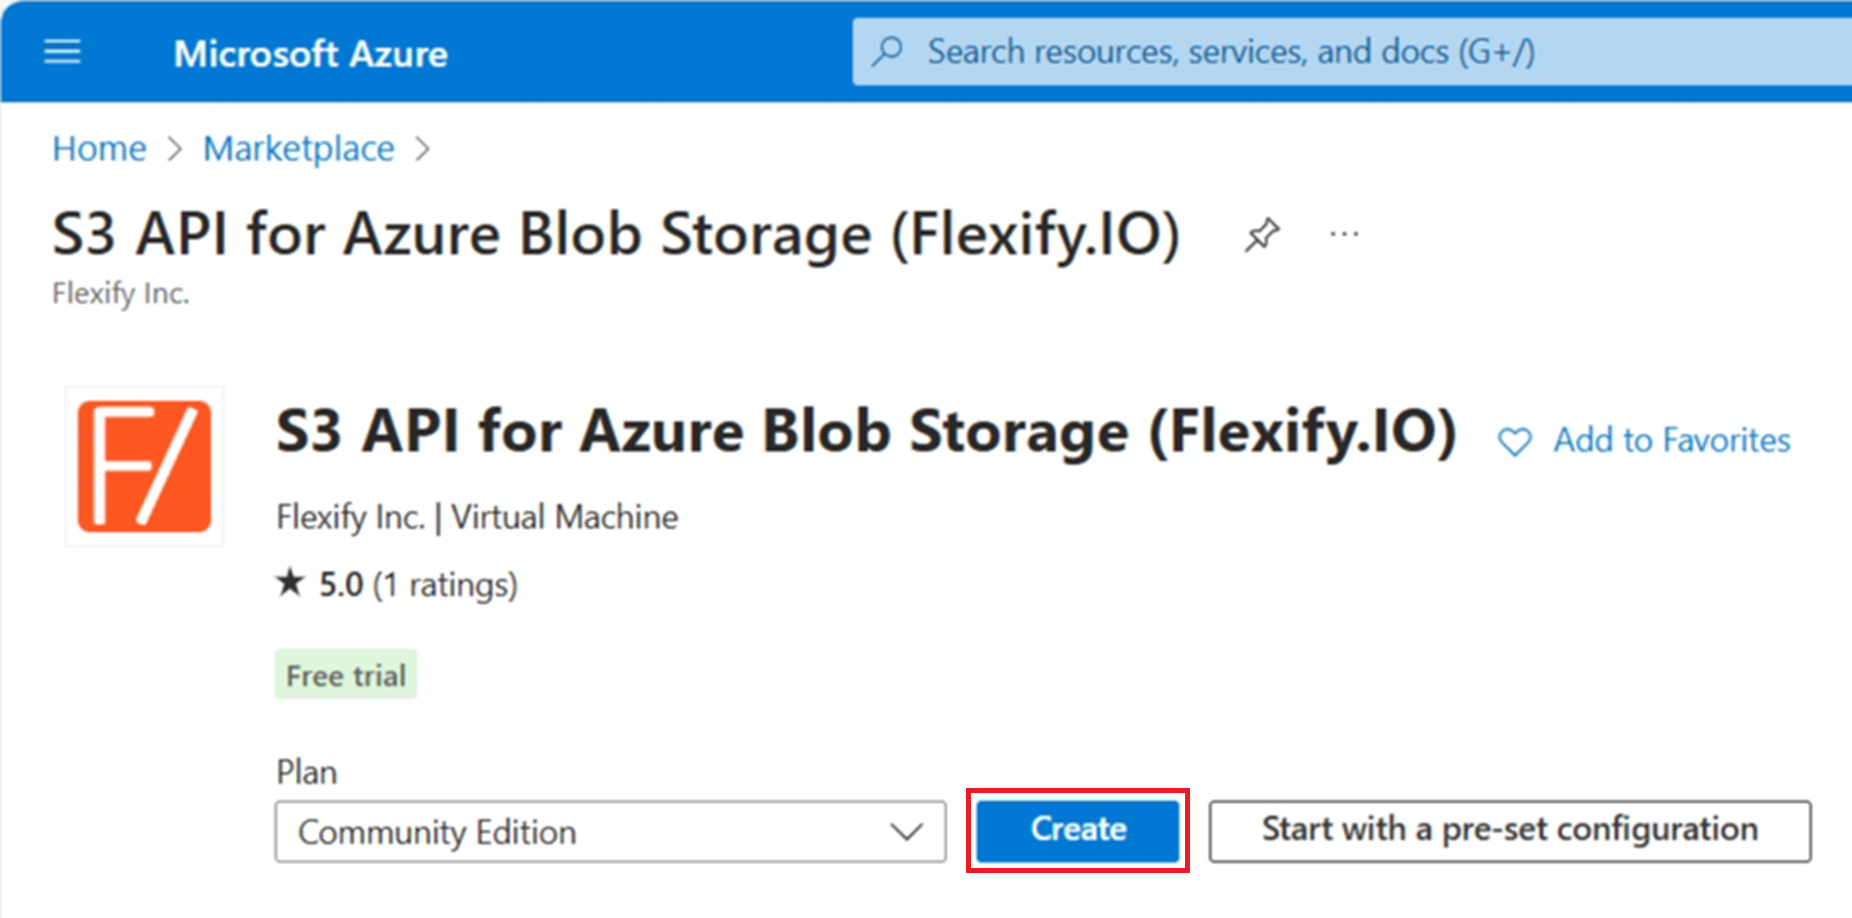
Choose the Community Edition or the Standard plan and click Create.
Specify the VM name and other settings:
Choose the region where your Azure Blob Storage account is located.
Choose a VM size with at least 2 GB of RAM.
Specify any username and password or SSH key. You won't need them for the steps below.
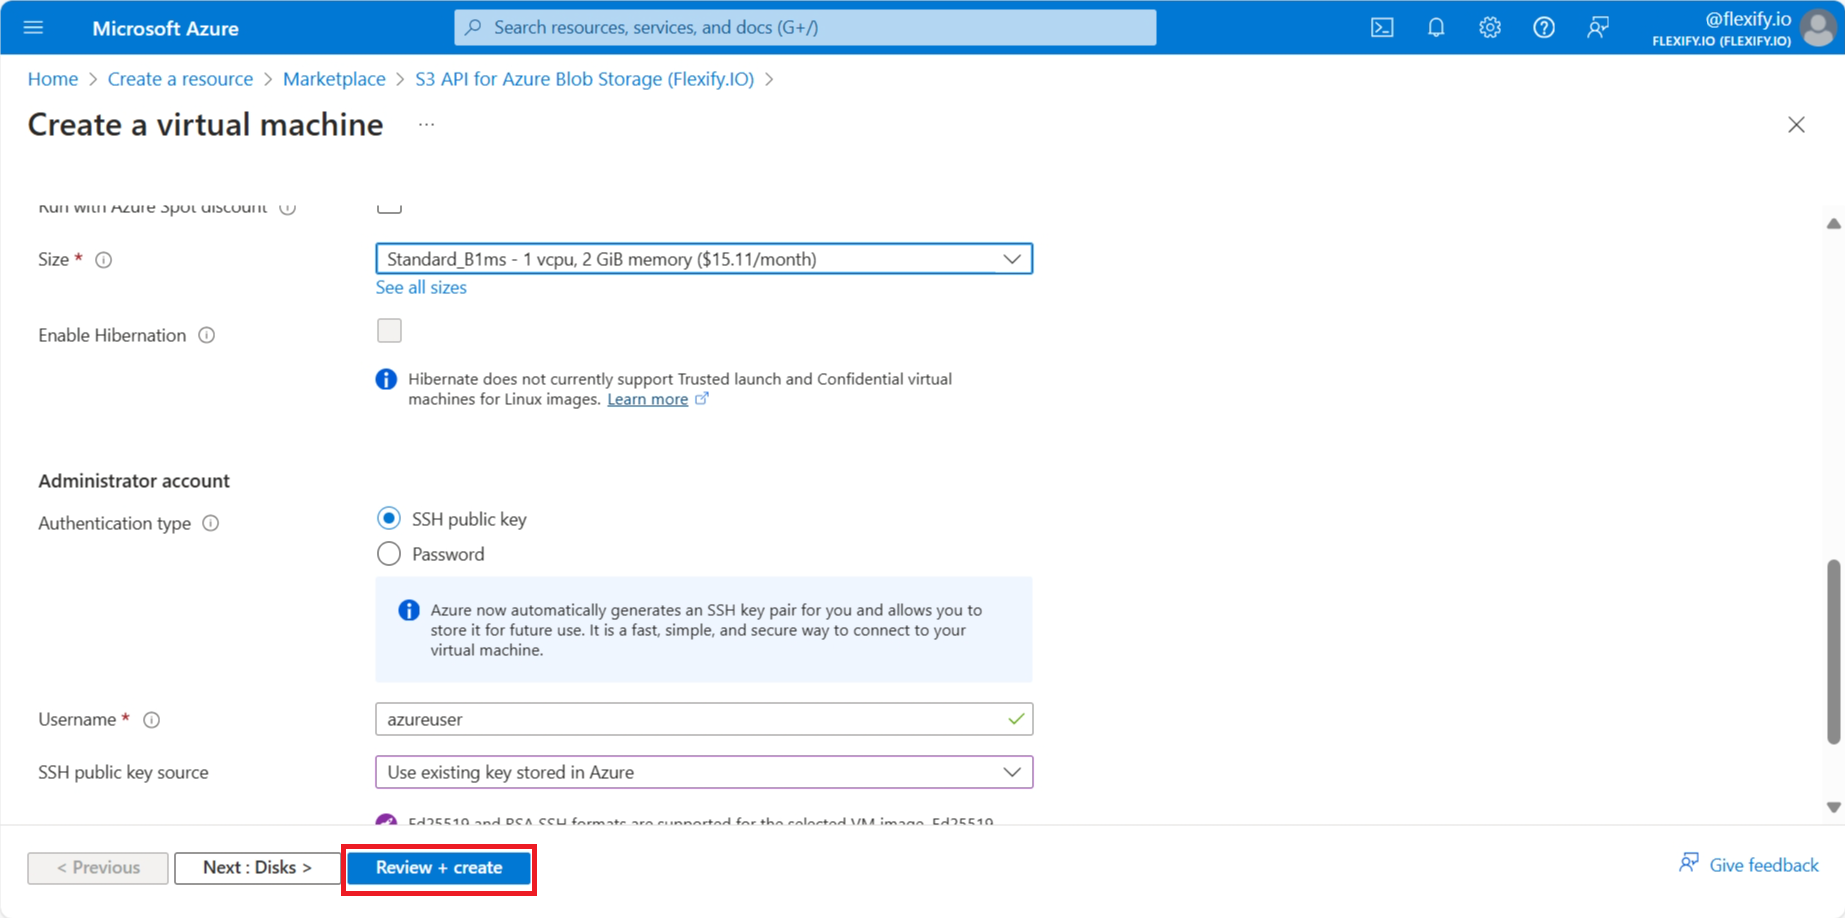
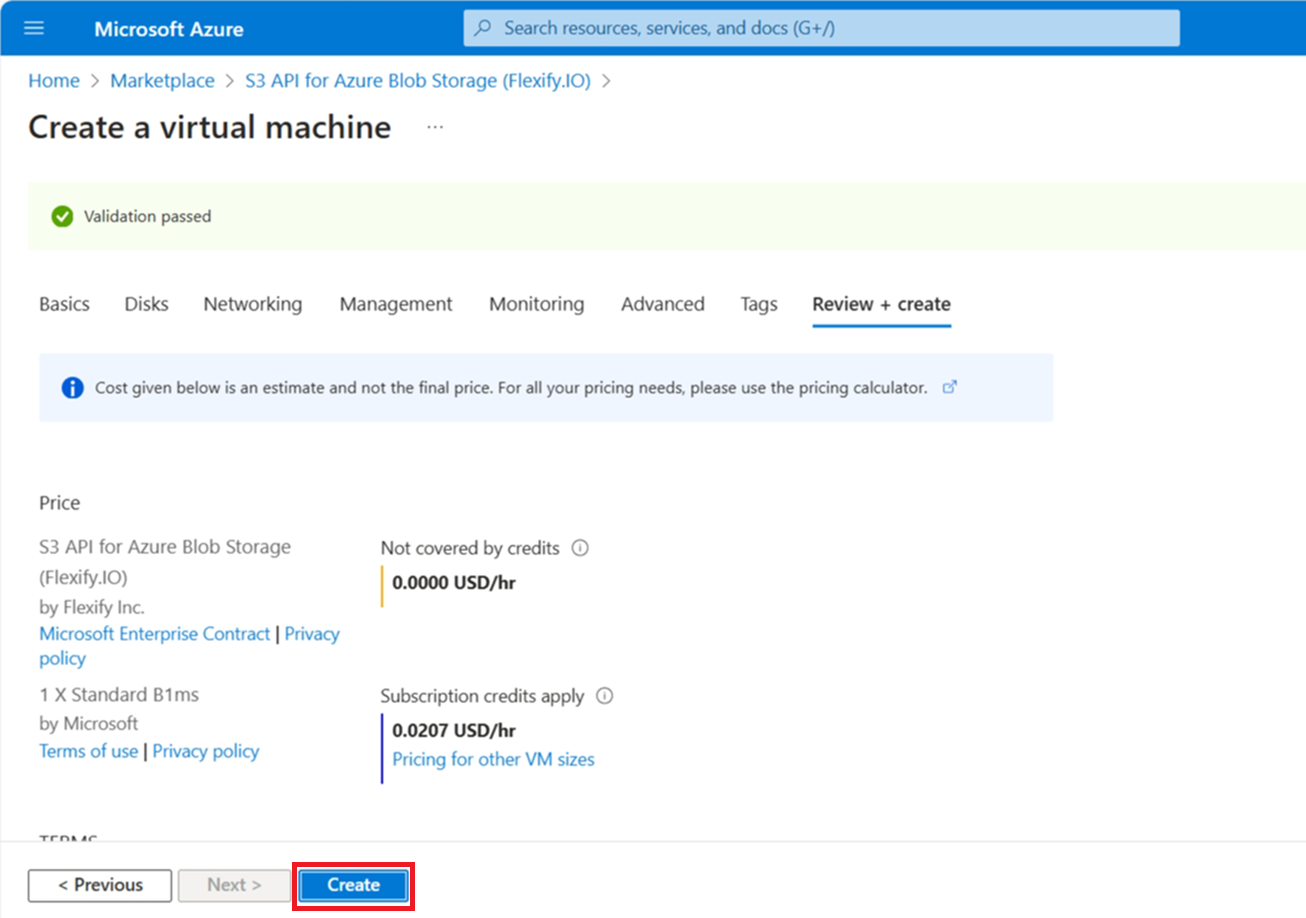
Click Review + create, check the settings, and click Create.
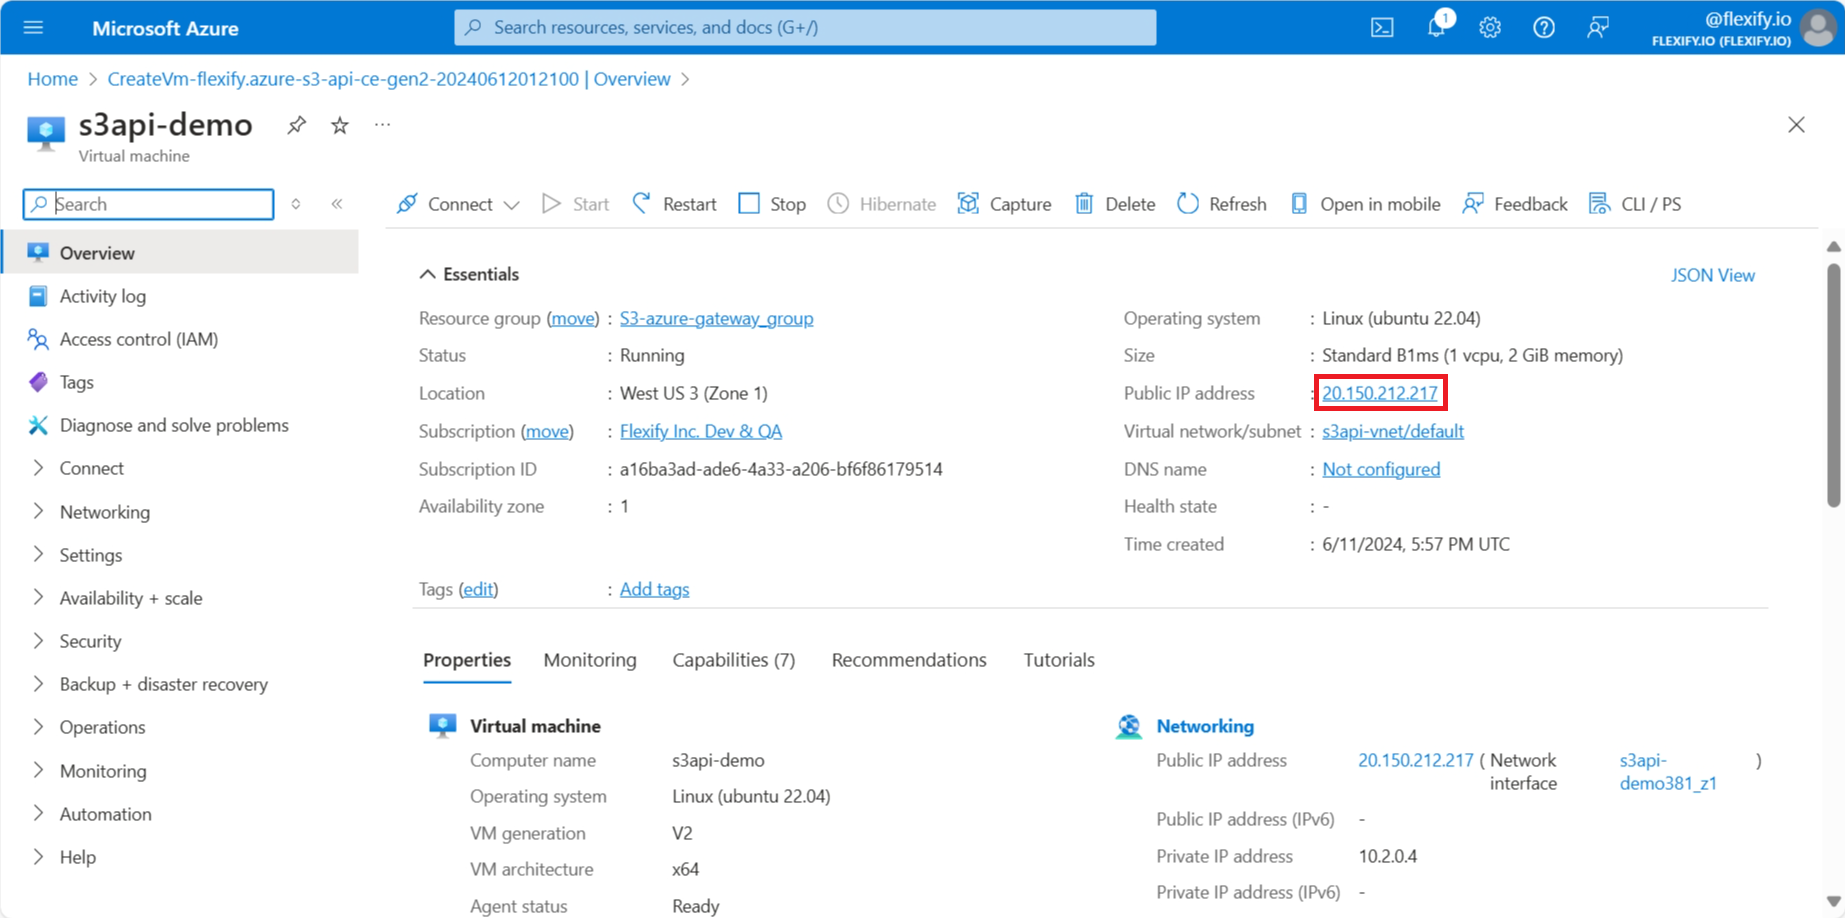
When the deployment finishes, click Go to resource and copy the VM's public IP address.
Step 2. Create the administrator account
Open a new browser tab and go to the VM's IP address. The Flexify.IO Management console opens with the Create account page.
Please note that it might take a few minutes for the VM to initialize for the first time. Be patient.Enter a username and a strong password, turn on I accept License Agreement, and click Continue. This first user gets administrative privileges.
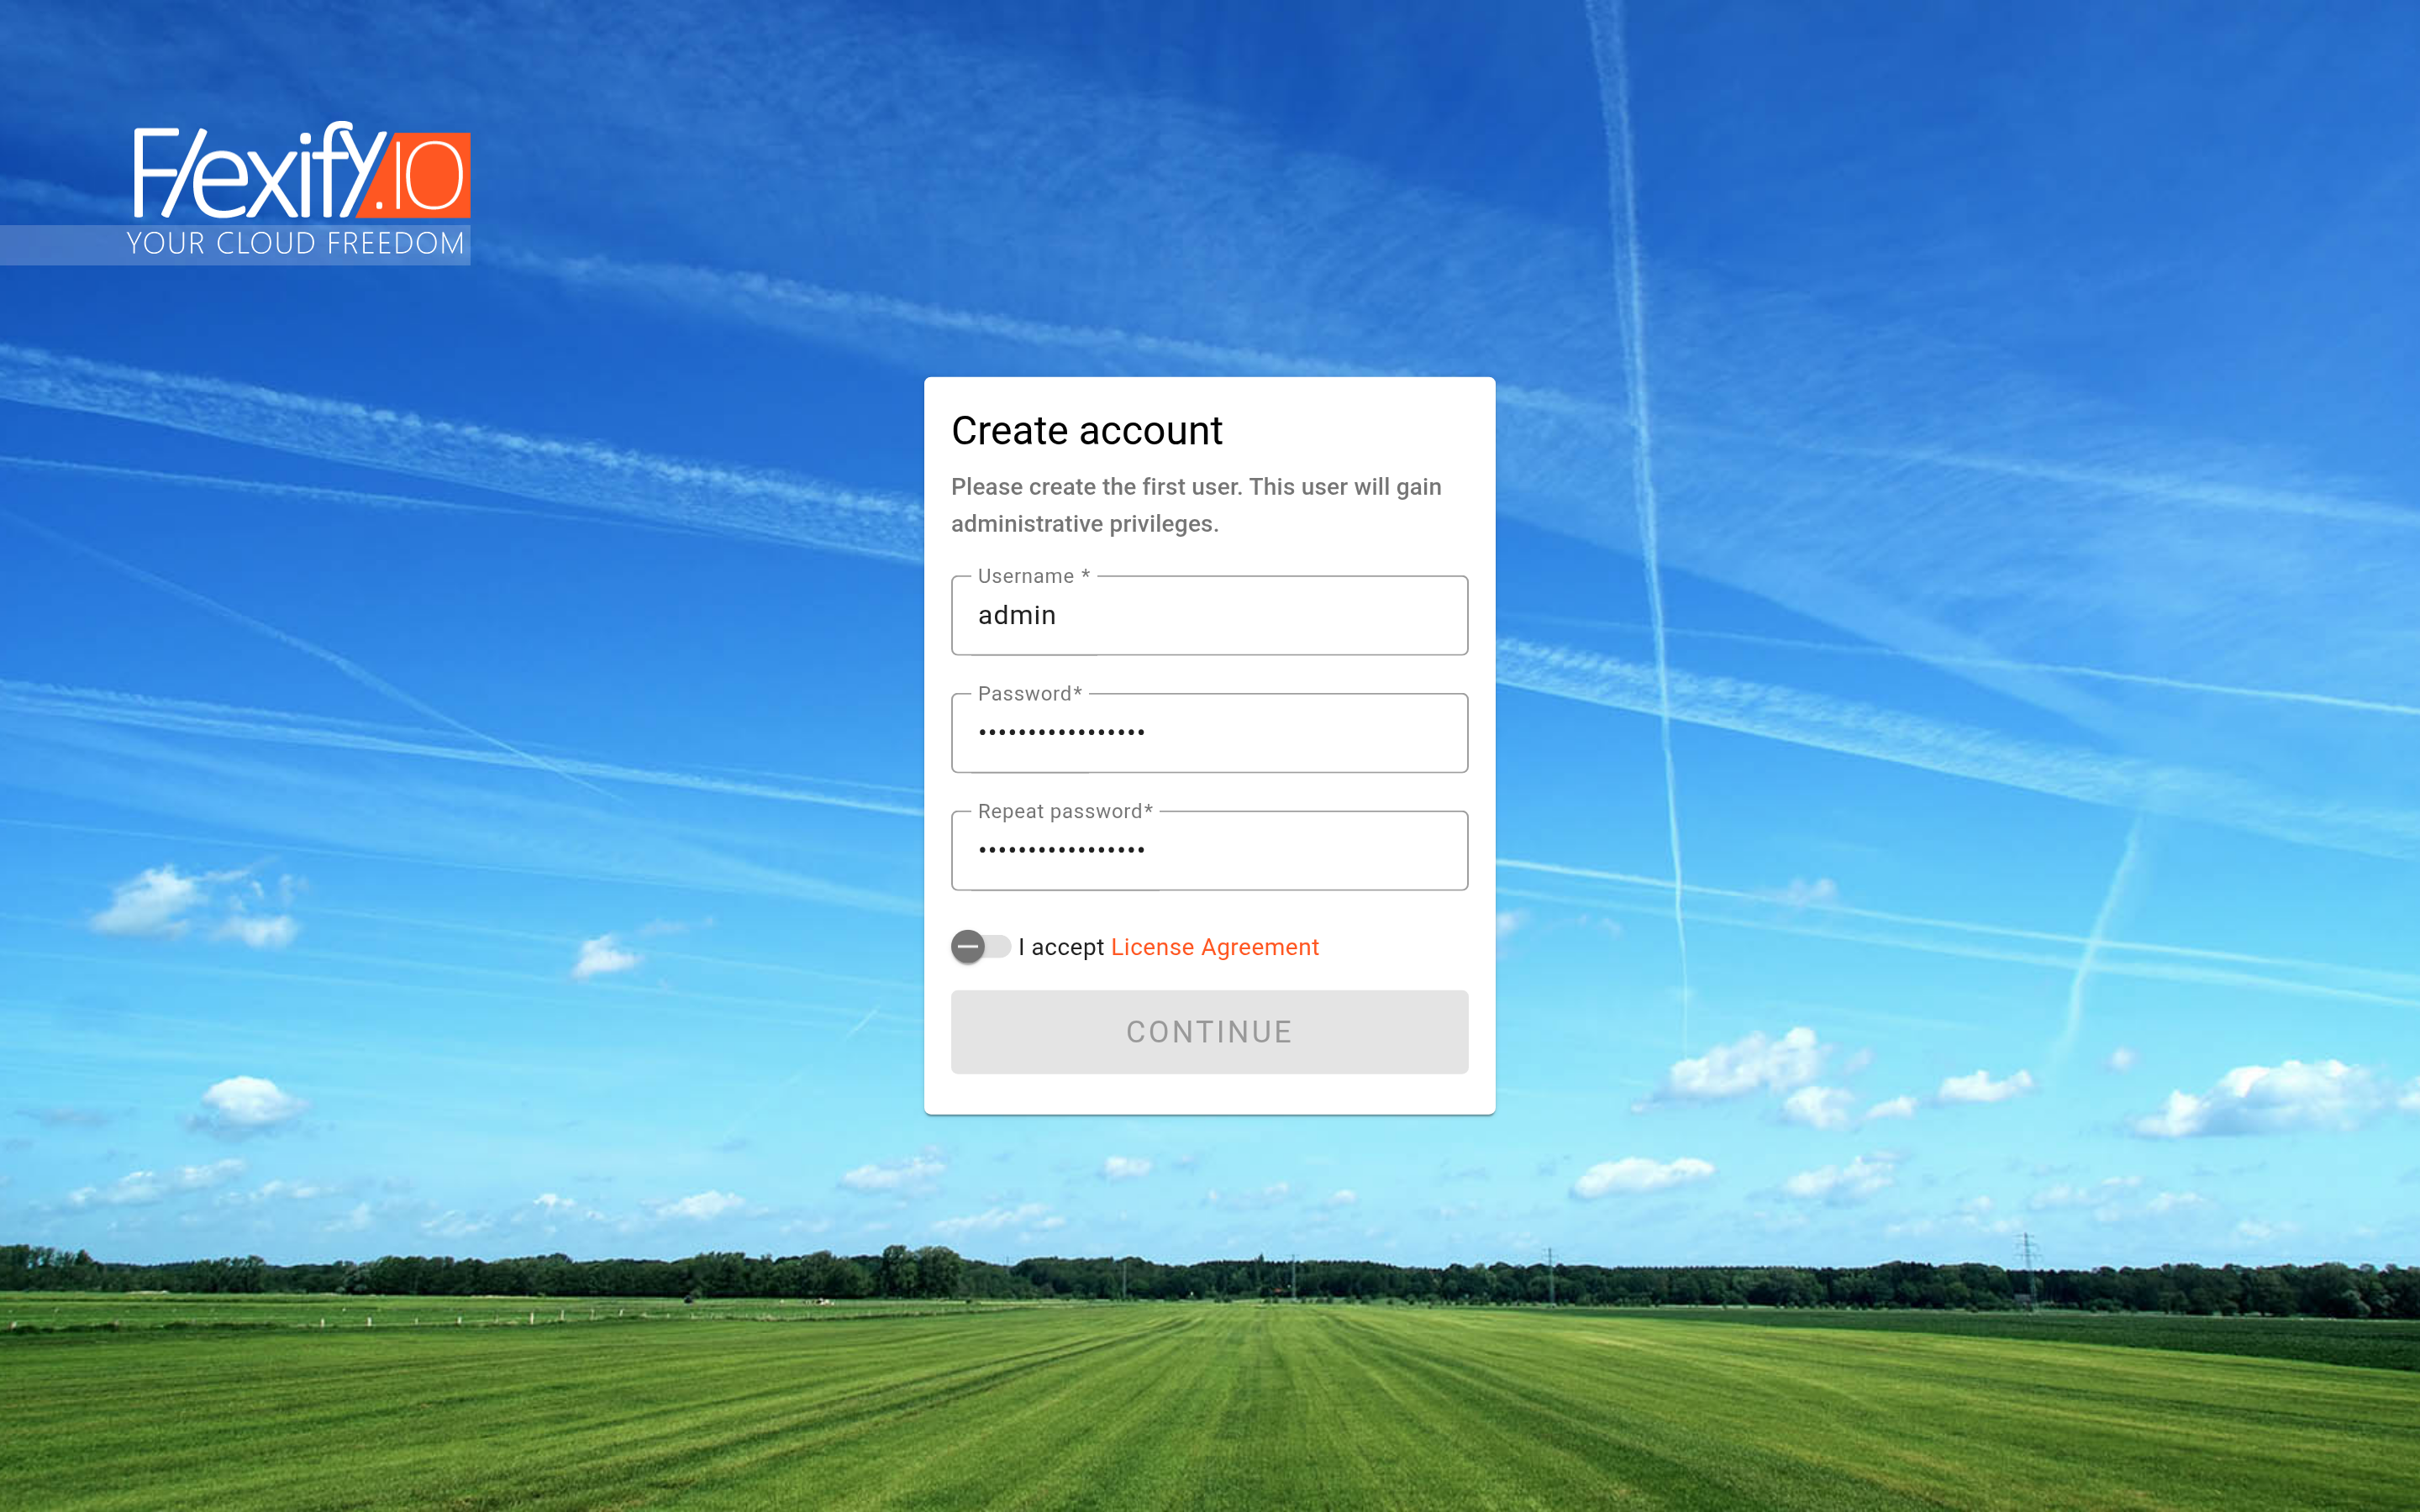
These credentials are local to your Flexify.IO installation. SaaS account is not connected or required.
Step 3. Add your Azure storage account
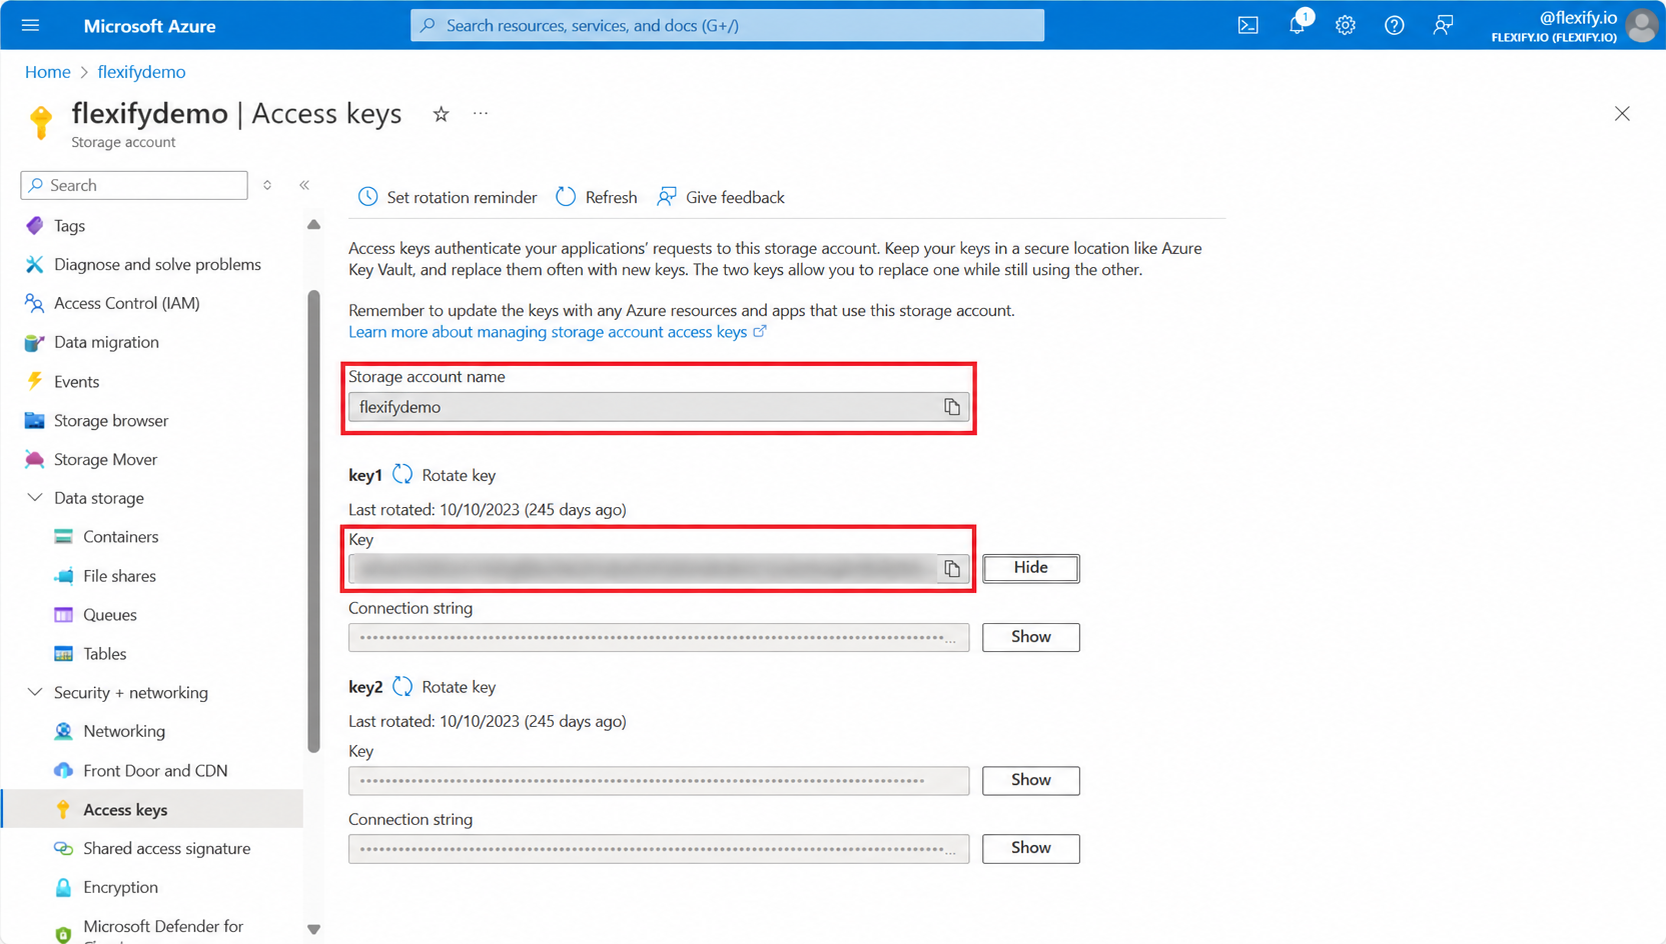
In the Azure Portal, open your storage account. If you don't have one yet, create one.
Open Access keys and copy the storage account name and one of the keys.
Important: Copy a key, not a connection string.
In Flexify.IO Web Console, open Data and click Add Storage Account.
Select Microsoft Azure as the Storage provider. Paste the Storage Account Name and the key into Key or SAS token.
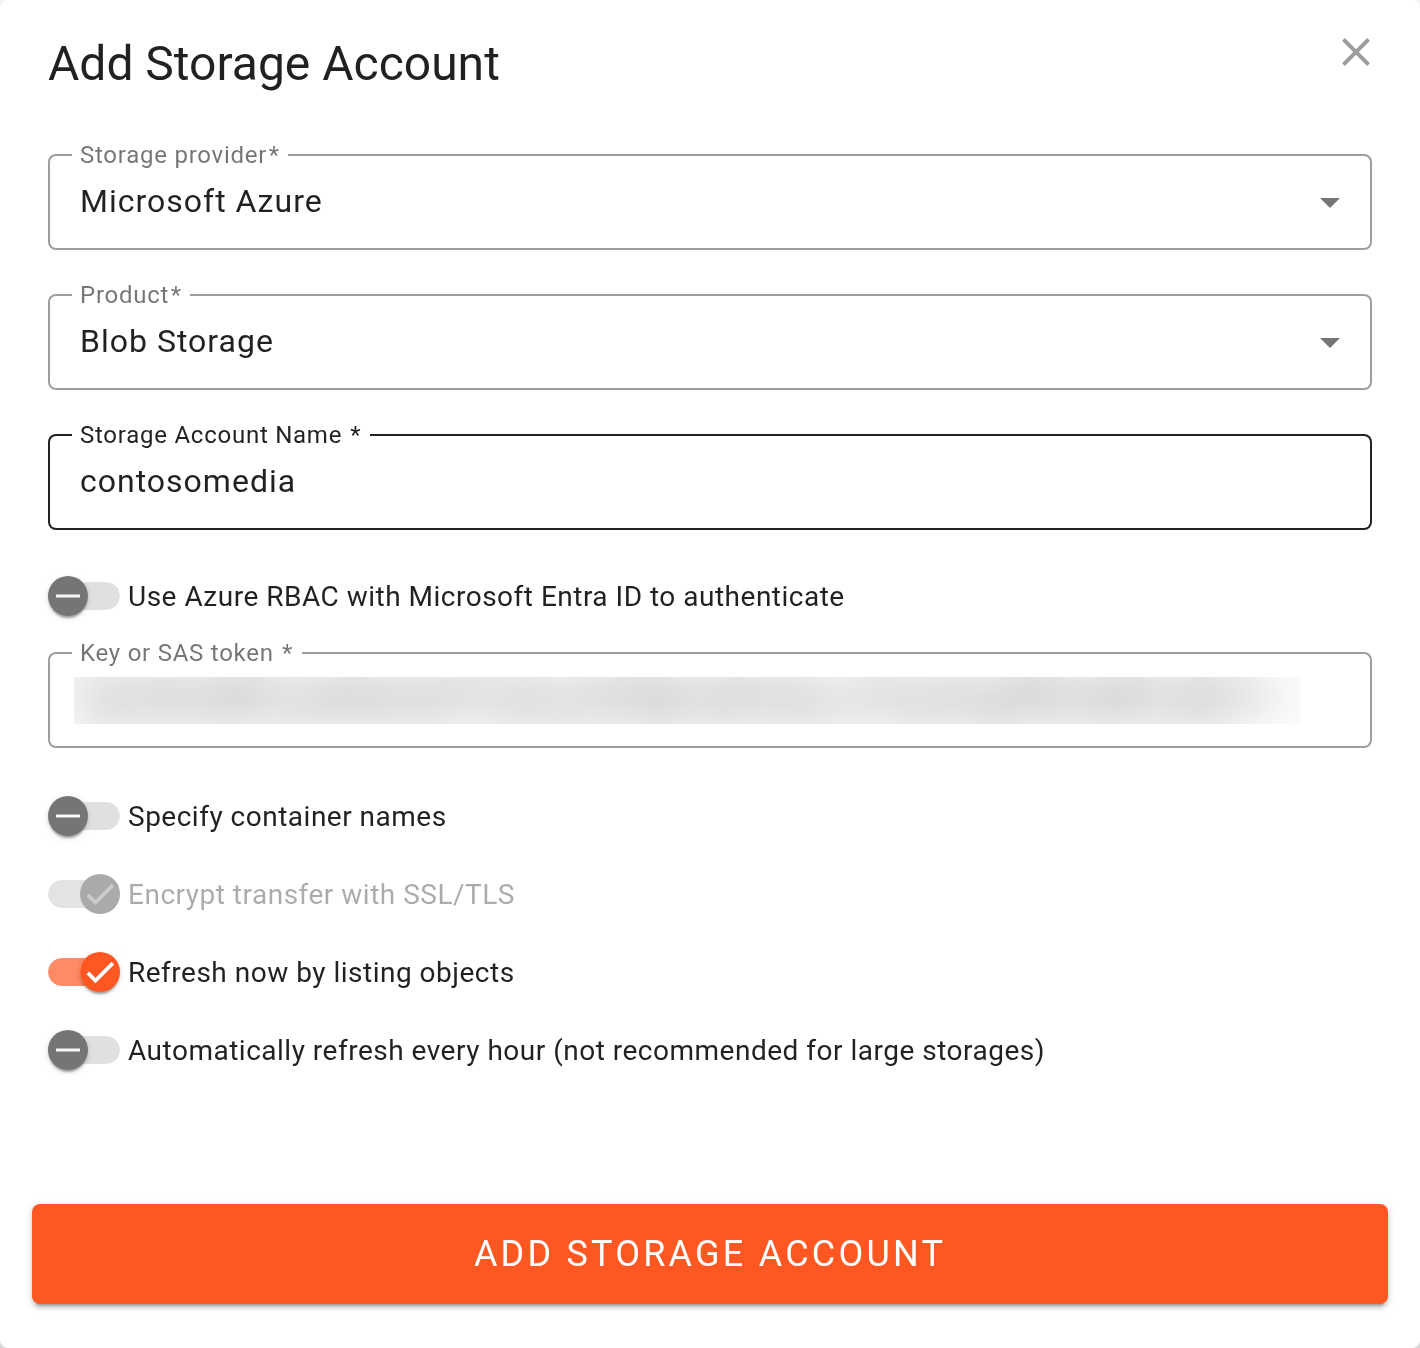
Click Add Storage Account.
Step 4. Create an S3 endpoint
Open Endpoints tab and click New Endpoint.
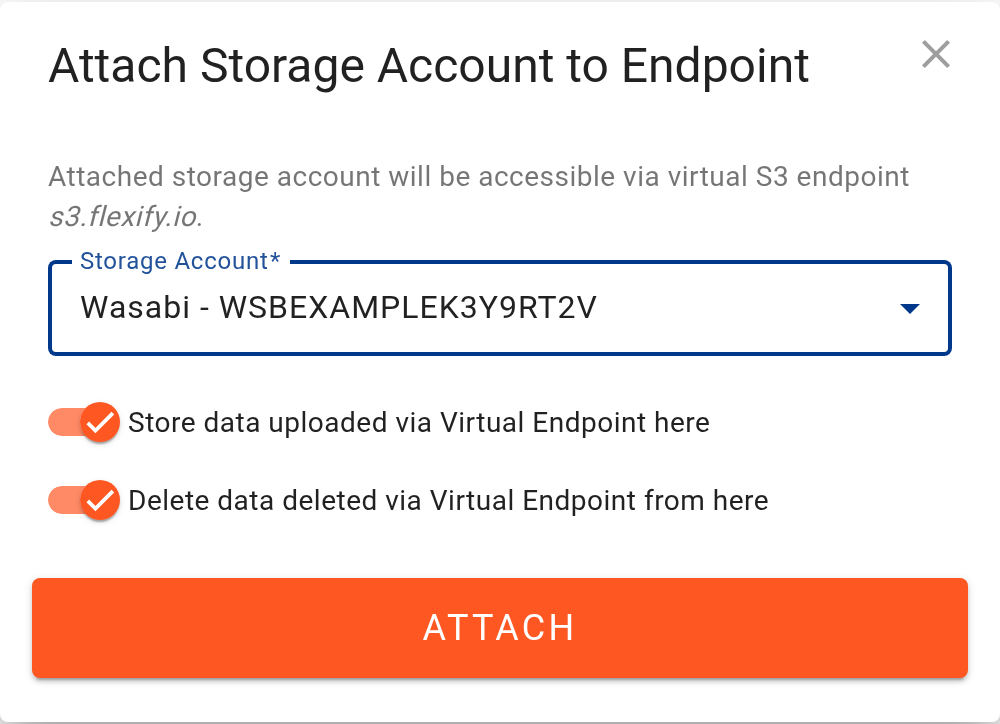
Click Attach in the endpoint's storage bar, select your Azure storage account, and click Attach.
Expand Settings & Keys on the endpoint card. Endpoint (S3) shows the endpoint address (your VM's IP address), along with the Access key ID and Secret access key.
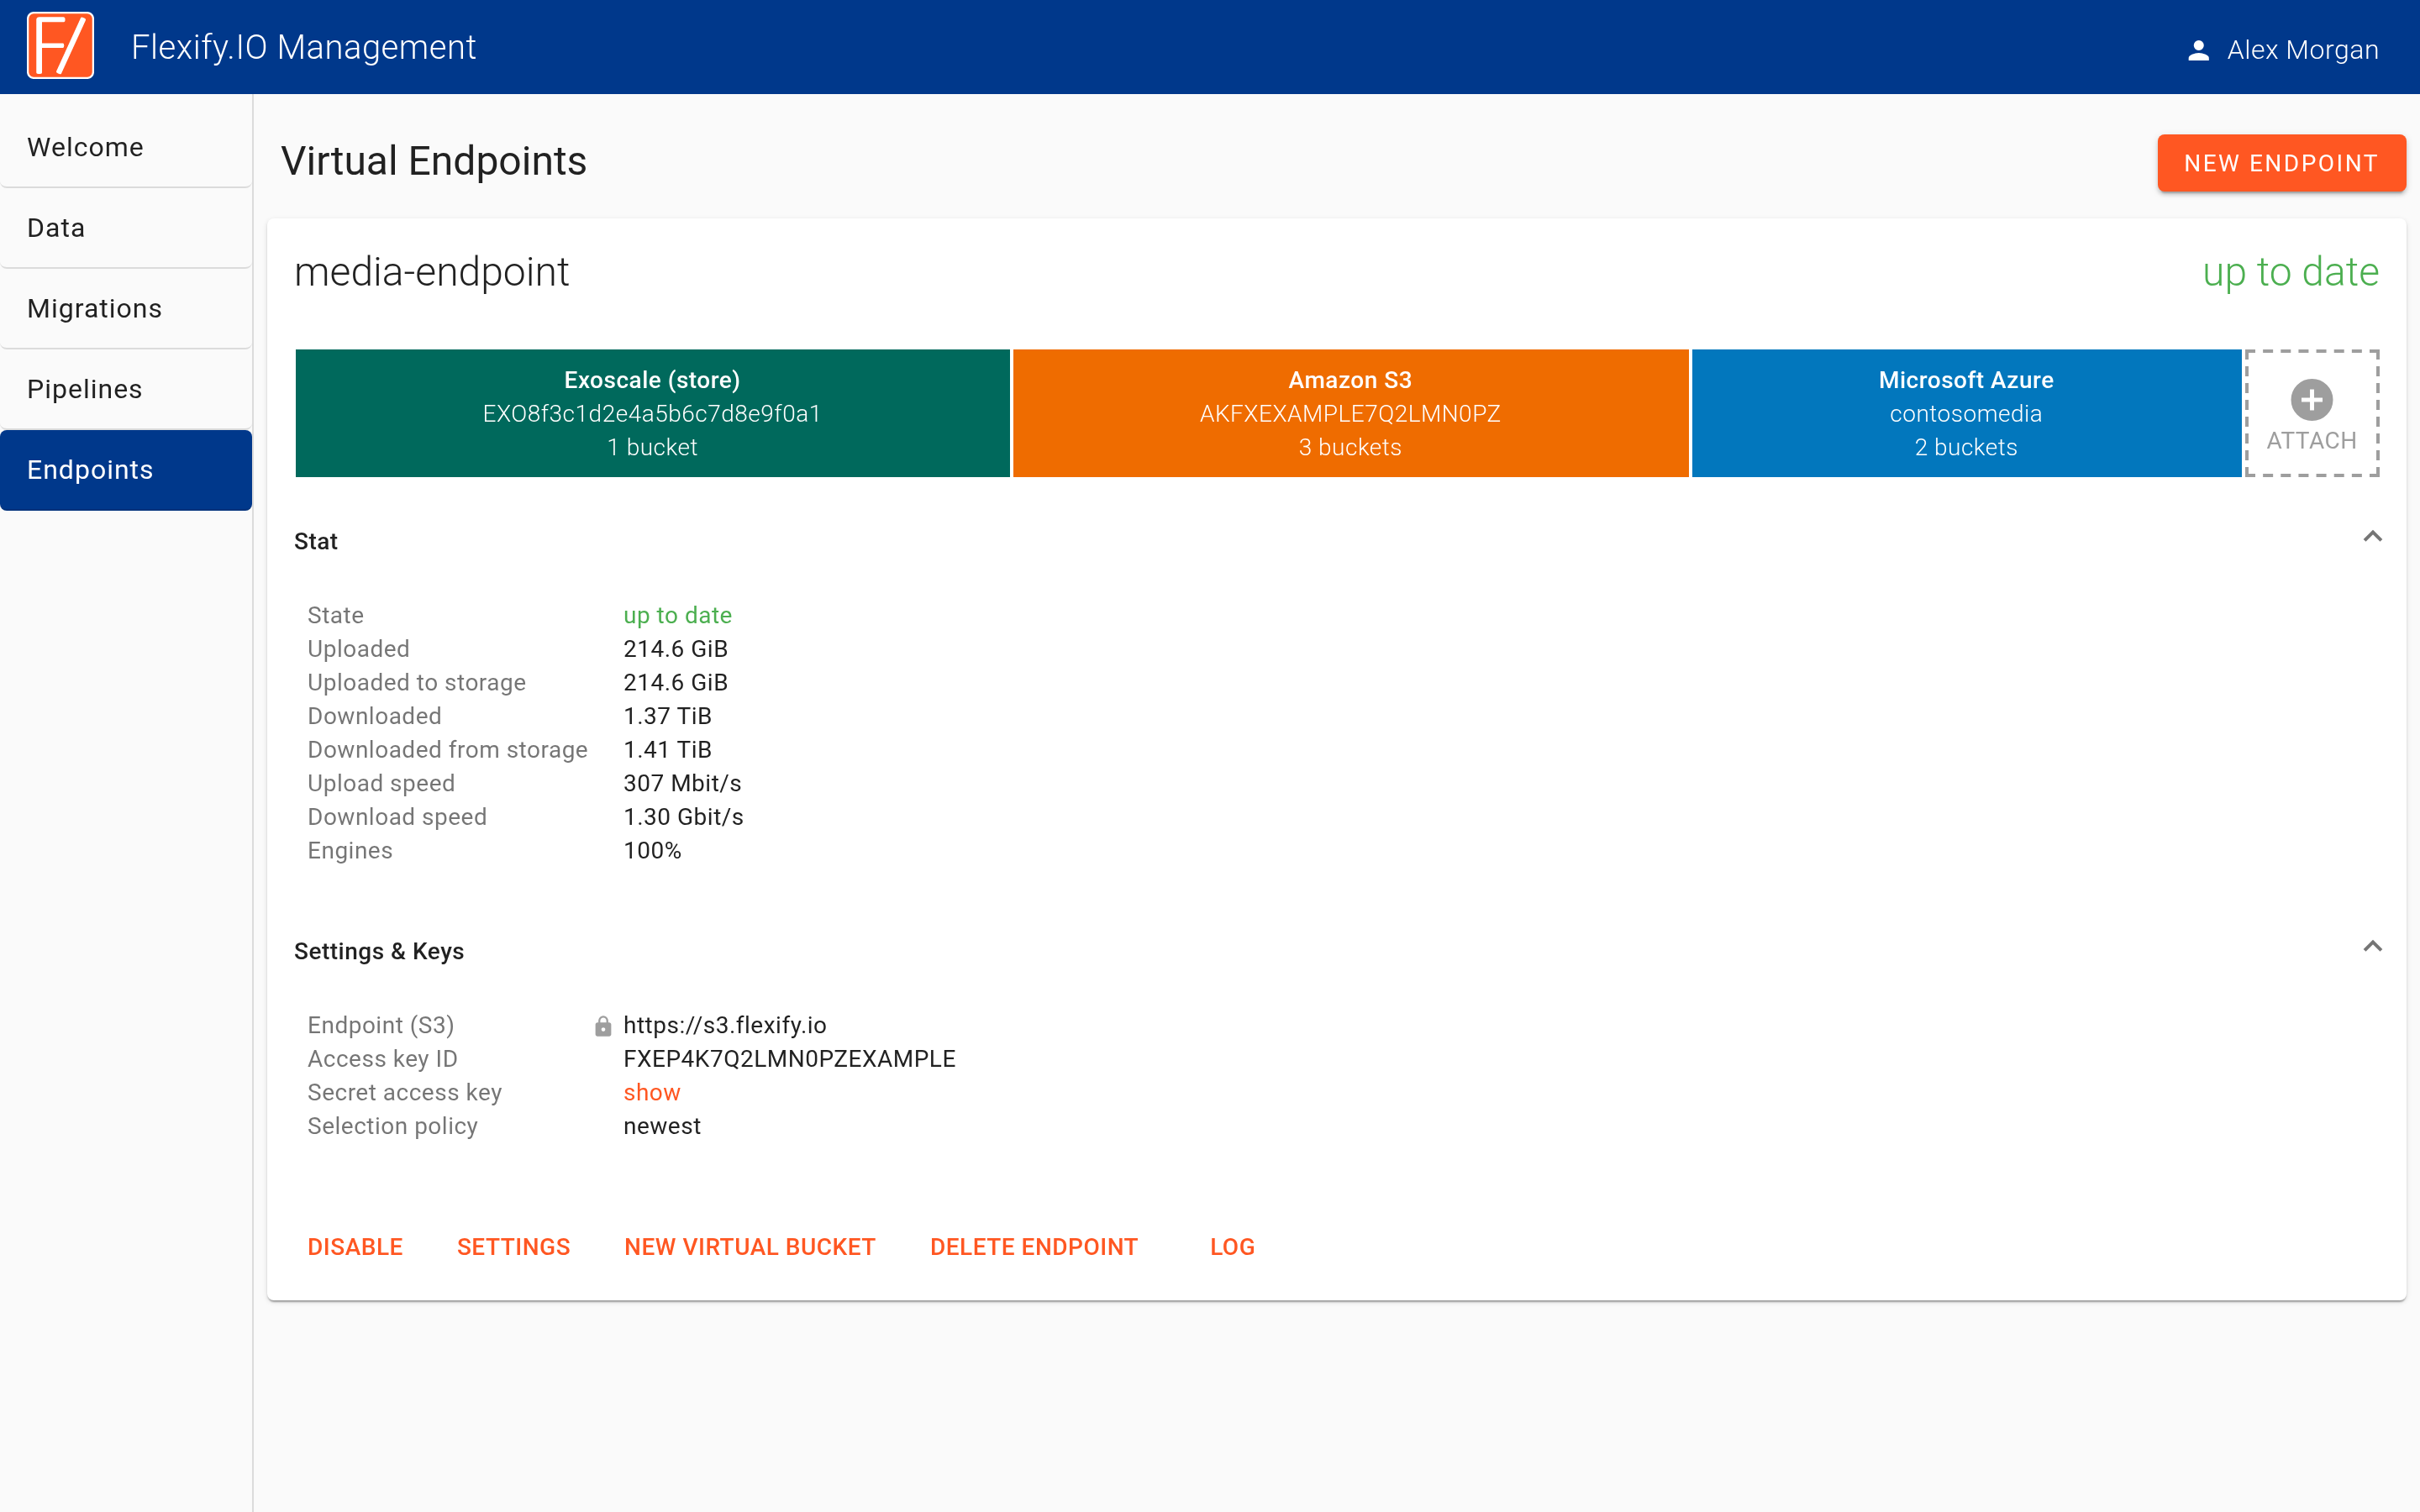
Tip: For production use, set up a DNS name and an SSL certificate for the endpoint, so applications can connect over HTTPS.
Step 5. Connect an S3 application
You can now use the endpoint with any S3-compatible application. For example, in S3 Browser:
Click Accounts → Add New Account.
Paste the endpoint address and keys from Flexify.IO. Any signature version works.
Turn off SSL. The virtual endpoint doesn't have an SSL certificate yet.
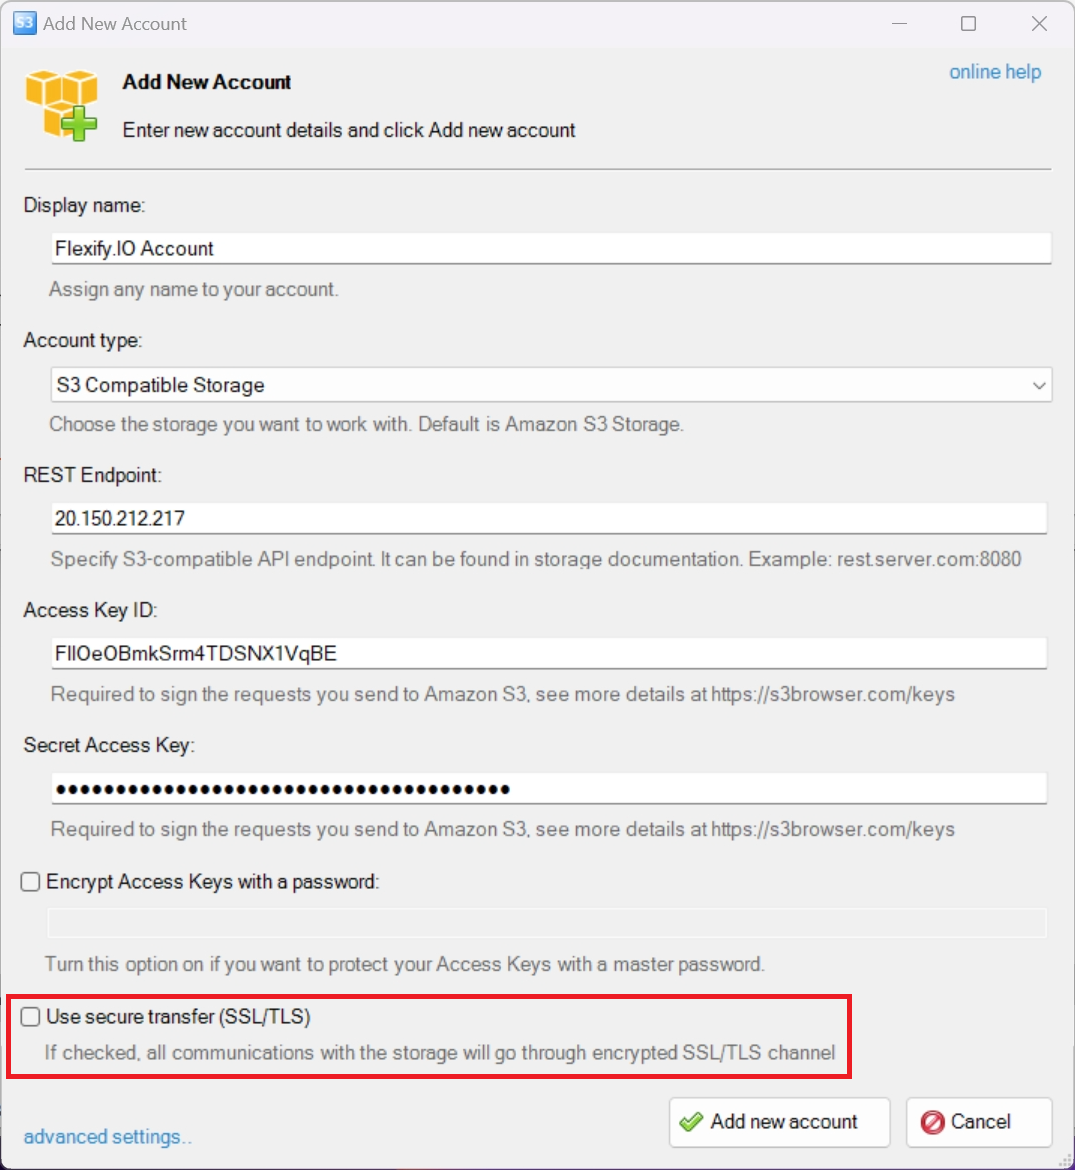
Click Add new account.
Click New Bucket to create an S3 bucket. Flexify.IO creates it as an Azure container.
Upload some objects to the new bucket. They are stored as Azure blobs and are visible in your Azure storage account.
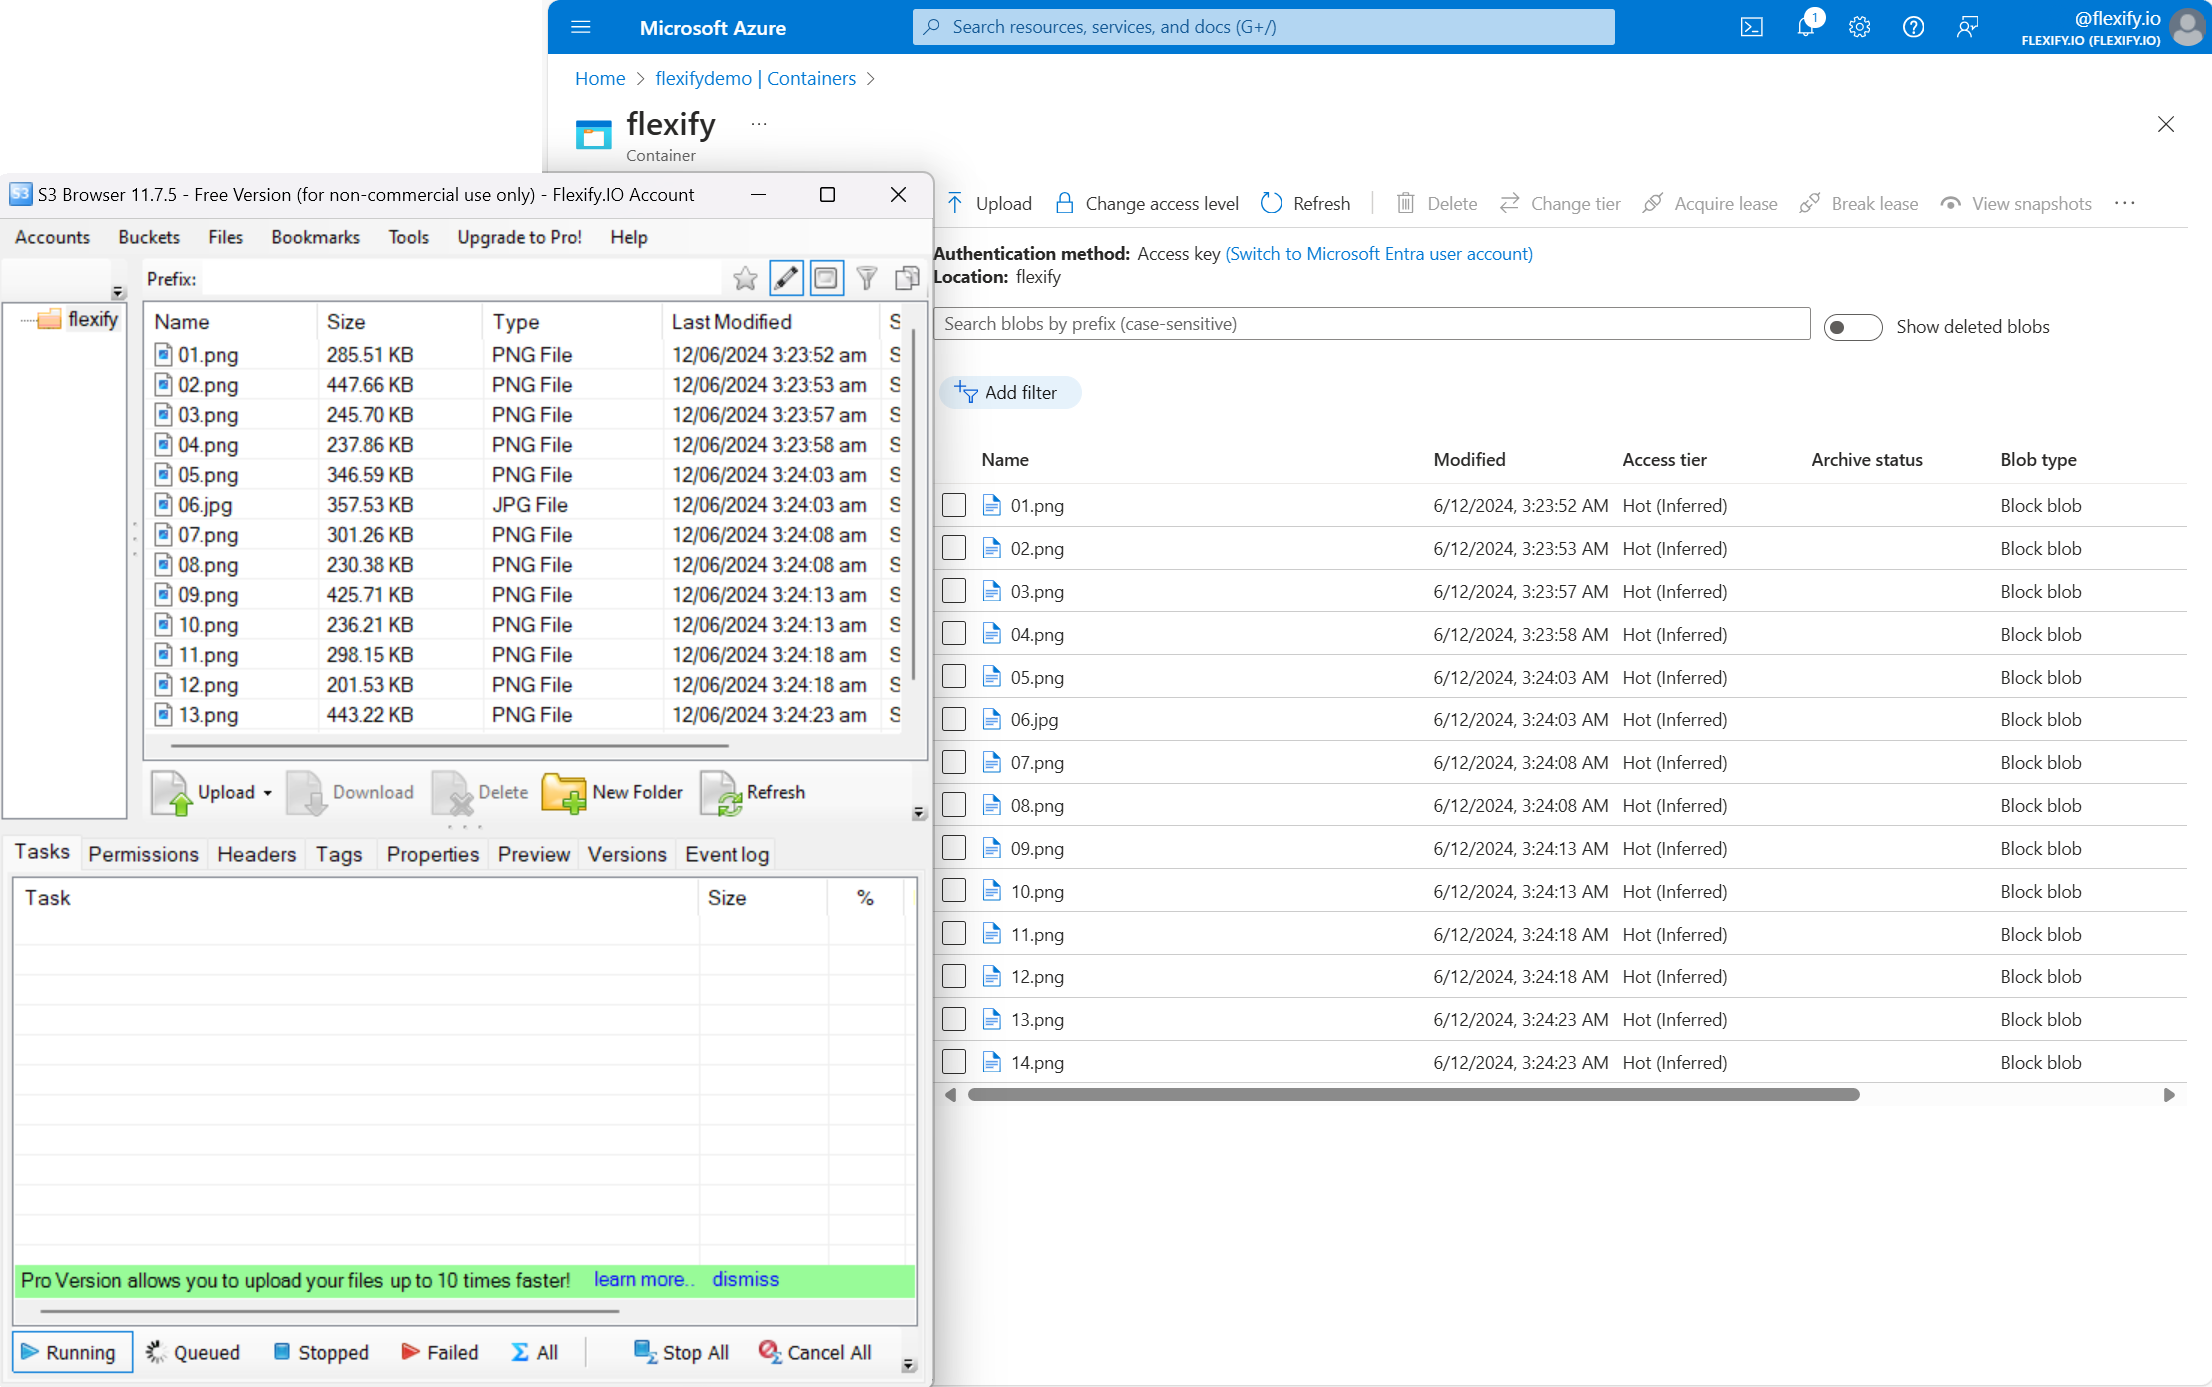
You have now deployed Flexify.IO in Azure, connected it to Azure Blob Storage, and exposed an S3-compatible endpoint that your applications can use without code changes.